This post may contain affiliate links. Please read our disclosure policy.
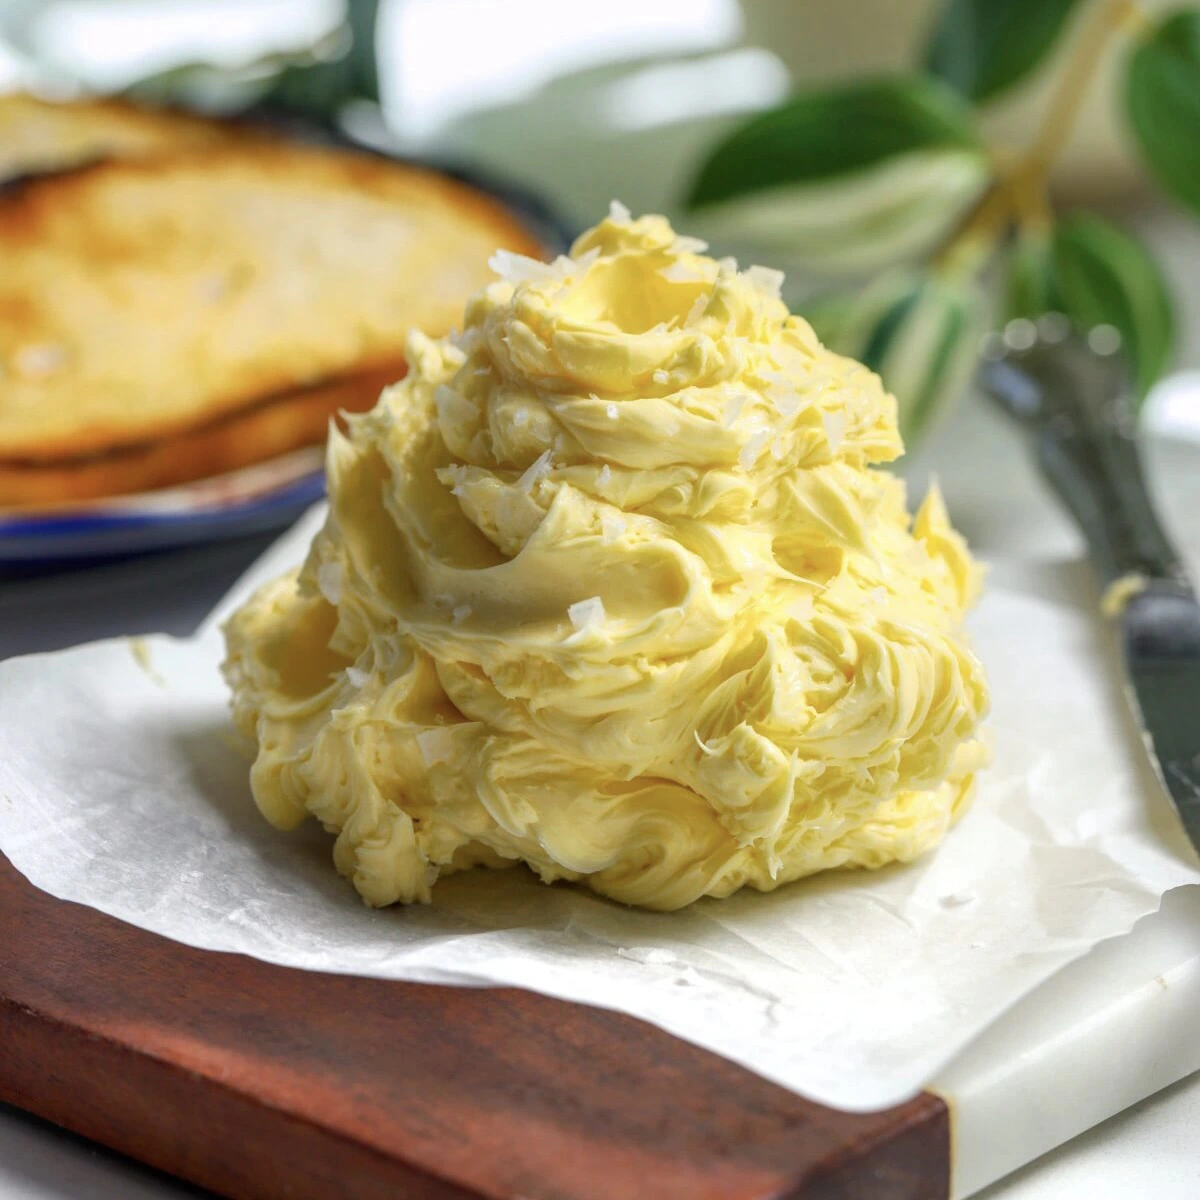
This classic whipped butter recipe is the perfect starting point for you butter lovers. I saw a whipped butter tower for the first time in a Copenhagen coffee shop & bakery and I fell in love with the concept. I have been making whipped butter ever since. While I have plenty of flavored options, this is where you will find everything you need to know about getting the perfect texture every time.
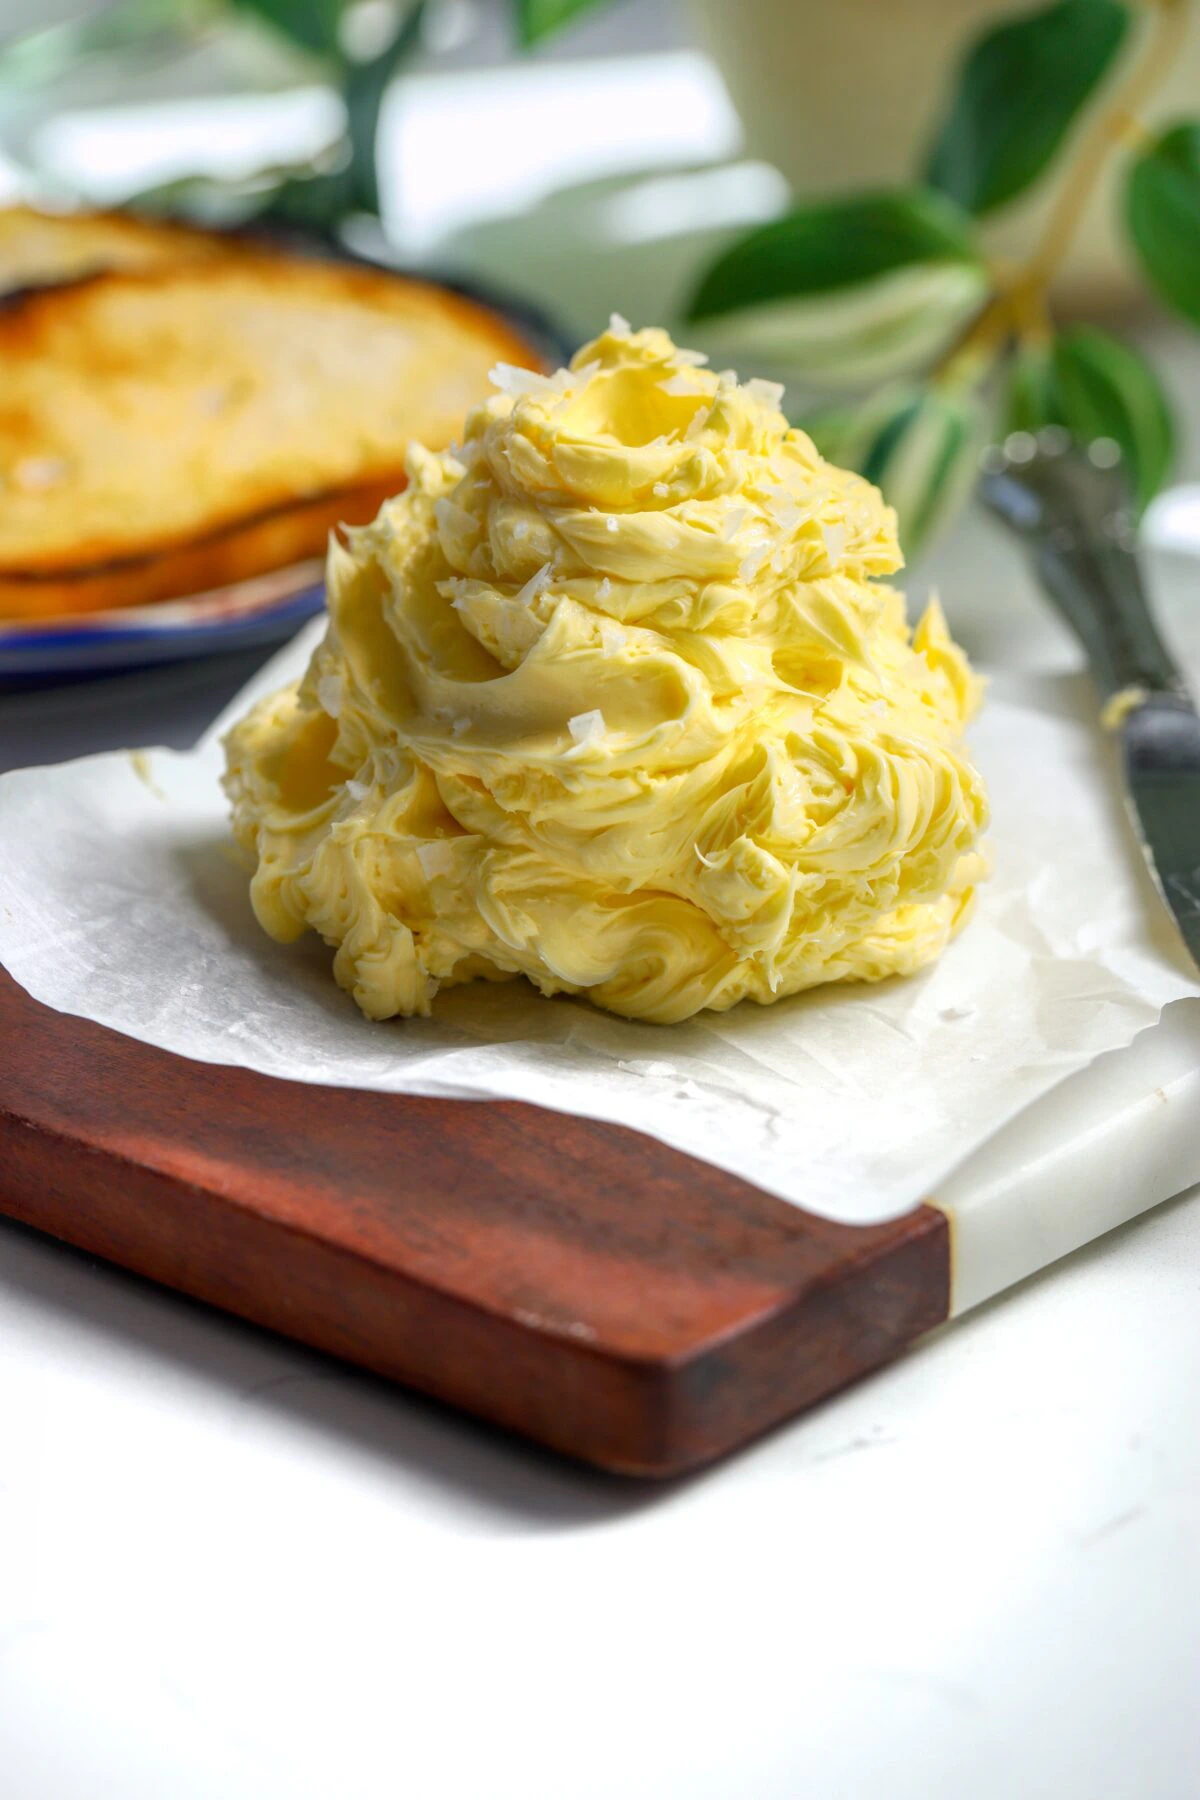
Table of Contents
Tips for the Fluffiest Whipped Butter
Pick a High-Quality Butter: This is your main ingredient. Not only does the butter quality of your butter affect the taste, picking the right now affects how fluffy the texture gets. European and Irish butter have a higher fat content. When picking out your butter, aim for at least 82% butterfat. This higher fat content creates a stable emulsion that traps air bubbles effectively, resulting in a richer, more luxurious whipped butter.
Room-Temperature: One of the most important things you can do is make sure your butter is softened correctly. A whole stick takes about 30 to 45 minutes. Here are some do’s and don’ts if you need to speed this up:
- Avoid Heating Methods: Do not use a microwave or direct heat to soften the butter. Heat melts the butterfat, which ruins what is required to the trap air.
- Cut it Up: If you want to speed this up, the right way to do it is to cut the butter into small cubes. This lowers the softening time to about 15 minutes.
Cold Cream: Make sure your cream is in the fridge till the last minute. The cold helps solidify that fat in the butter, which traps the air better.
Pace the Whipping: Don’t just right to high while mixing. You need to fully incorporate the butter and cream on low for 1 to 2 minutes. Then, increase the speed to high and whip for 3 to 5 minutes. The mixture turns pale and doubles in size.
Choosing the Best Mixer
When making whipped butter, you need make sure it has both low and high-speed settings so you can start slow and gradually increase the power. Here are the two mixer options:
Stand Mixer: This is what you want for a larger batch, although the handheld still works. Use the whisk attachment because that incorporates the most are. A paddle attachment will also work but the whisk is better.
Handheld Mixer: This option is great if you are making a small batch. Use the standard double beaters or the whisk ones and a bowl deep enough that the heavy cream won’t splash everywhere when you turn the mixer on. Move the mixer around the bowl in a slow, steady circle to make sure you are catching all the butter against the sides and whipping it evenly.
Storage, Freezing, and Best Practices
Fridge Storage: Because this base uses heavy cream, leftover butter must go in the fridge. Store it in an airtight container for 1 to 2 weeks. Let it sit on the counter for 15 to 20 minutes before serving so it softens back into a light, spreadable cloud.
Freezing Storage: You can freeze the whipped butter for up to 3 months. Pack it tightly in a freezer-safe container to block out freezer odors.
Thawing and Re-Whipping:
- Frozen: Thaw in the fridge overnight. Before serving, let it sit at room temperature for 15–30 minutes. If you are in a hurry, you can leave it on the counter for a few hours. You will need to rewhip it for a few minutes to get it back to its original fluffy texture.
- Fridge: The butter will still be spreadable but to get it back to its original texture, let it sit at room temperature for 15–30 minutes. It may need to be rewhipped a little with your hand mixer to bring back a fluffy, stiff peak before serving.
Best Practices – When To Toss It
You can leave this butter out during a meal so it stays soft and easy to spread. Whipped butter has cream, so don’t leave it on the counter overnight. The USDA food safety suggests that you don’t leave it out for more than two hours. If you are unsure if your butter is still good, check for these signs:
- Smell: If the butter throws a sour, soapy, or chemical odor, it is done.
- Mold: Spotting any fuzz means the entire container is compromised. Do not try to scrape the bad spots to save it; throw the whole batch away.
- Texture Breakdown: If the emulsion fails and turns slimy, aggressively grainy, or separates and refuses to whip back together, the structure has broken down and needs to be thrown out.
Easy Flavor Variations
Whipped butter is amazing as is, or you can have fun with it. Here are some easy flavor add-ins that you can mix in right after whipping:
- Roasted Garlic and Herb: Fold in roasted garlic, grated Parmesan, and finely chopped thyme.
- Cinnamon Sugar: Fold in ground cinnamon, brown sugar or powdered sugar, and a splash of vanilla extract.
- Sun-Dried Tomato: Mix in finely chopped sun-dried tomatoes, a garlic crunch blend, and a small amount of tomato paste.
- Miso Honey: Blend in white miso paste and creamed honey.
- Truffle: Add freshly shaved black truffles and truffle salt.
- Lemon Dill: Fold in fresh lemon juice, lemon zest, and minced dill.
Once you have perfected the classic whipped butter techniques, here are some flavor variations to try. Enjoy!

Dips and Butters
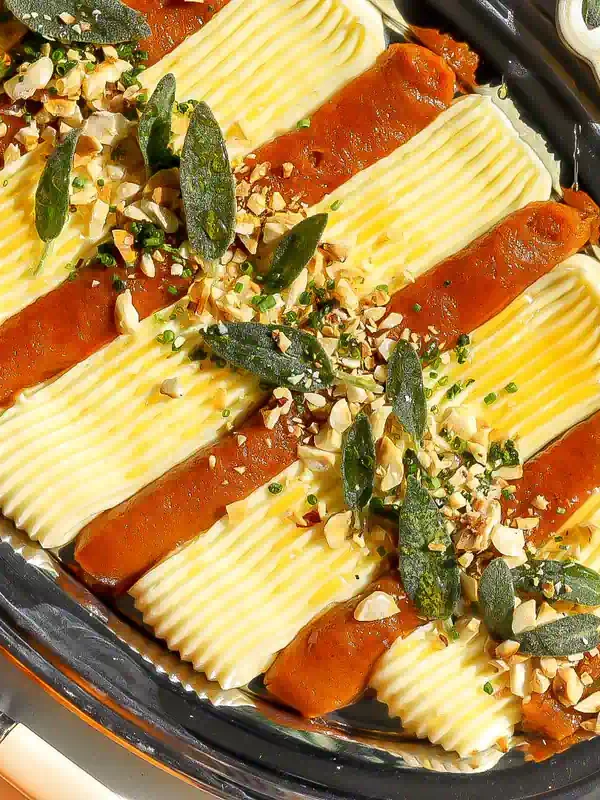
Whipped Butter Radish Tower

Dips and Butters
Whipped Butter with Crispy Shallots and Honey
Dips and Butters
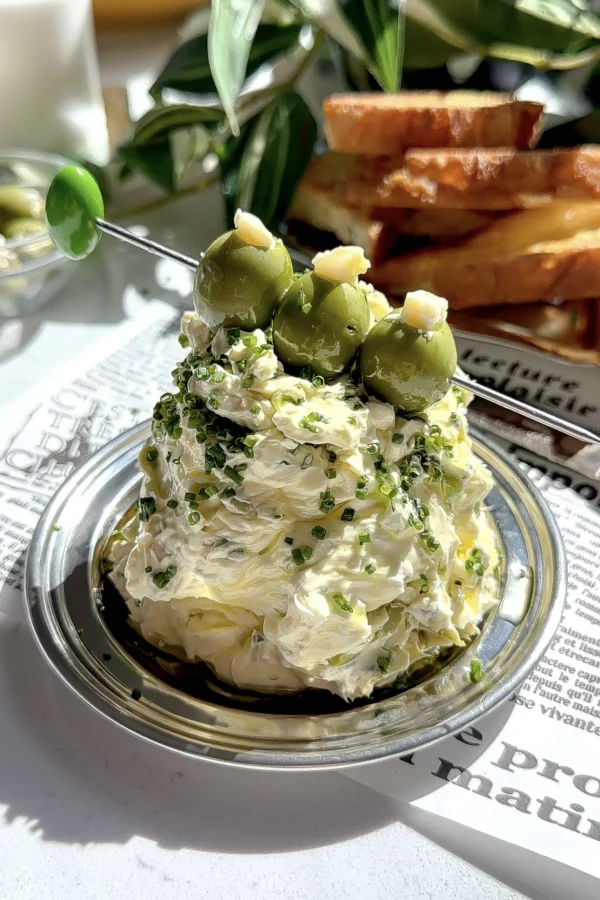
Dirty Martini Whipped Butter (Blue Cheese and Olives)

Dips and Butters
Caesar-Style Whipped Butter
Dips and Butters
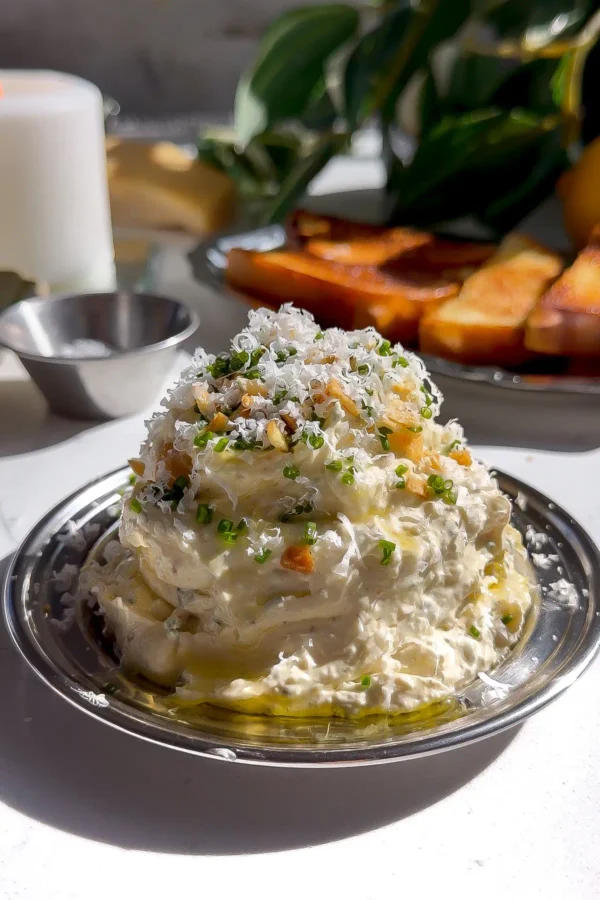
Savory Whipped Butter with Roasted Garlic and Parmesan
How to Serve
The best part about whipped butter is how easily it spreads without tearing up your bread. Because it is so light and airy, it will melt faster than a standard block of butter. Here are a few ways to serve it so it keeps that fluffy texture:
- Breads: Serve with warm sourdough, dinner rolls, or toasted ciabatta. I have a lavender biscuits that this spreads amazingly on.
- Breakfast Pastries: Spread over pancakes, scones, or waffles for perfectly even coverage. A favorite of mine to serve it with is my vanilla honey or brown sugar toast bites.
- Hot Dishes: Professional kitchens will use whipped butter to finish steaks, baked potatoes, and roasted vegetables. Because it is so airy, it melts faster and spreads more evenly than a cold square of butter. You can also make the whipped butter savory by adding fresh herbs and using that for your dinner dishes.


Want to save this recipe to your collection?
Frequently Asked Questions
Store homemade whipped butter in an airtight container in the fridge for 1 to 2 weeks, but the texture is best within the first week.
Yes. You are using heavy cream in this recipe so it must be stored in the refrigerator. It will spoil if you leave it at room temperature for too long.
Yes. Store it in a freezer-safe, airtight container for up to 3 months. To serve, thaw it slowly in the refrigerator overnight, then let it sit at room temperature for 15 minutes. You may need to give it a quick mix with a hand-mixer to restore the texture.
No, the whipping incorporates air, which significantly increases the volume of the butter. A cup of whipped butter weighs much less than a cup of solid stick butter. If you must use it in a baking recipe, you must measure it by weight to make sure you have accurate ratios.
Equipment
- handheld mixer, or stand mixer with whisk attachment
- medium bowl
Ingredients
- 8 oz unsalted butter, good-quality, room-temperature (important)
- 1/4 cup heavy cream
- flaky salt, to taste
Instructions
- Add room-temperature butter and cream to a medium bowl.8 oz unsalted butter, 1/4 cup heavy cream
- If using a handheld mixer, move the mixer in a slow, steady circle, and whip the butter on low for 1-2 minutes until fully incorporated. Scrape the sides, then turn the speed up to high for 4-5 more minutes. The texture should be fluffy and smooth.
- Add a spoonful of butter to your servings tray, sprinkling flaky salt in between each layer of butter and that is it!flaky salt
Kitchen Cam
Nutrition
Nutrition information is automatically calculated, so should only be used as an approximation.