This post may contain affiliate links. Please read our disclosure policy.
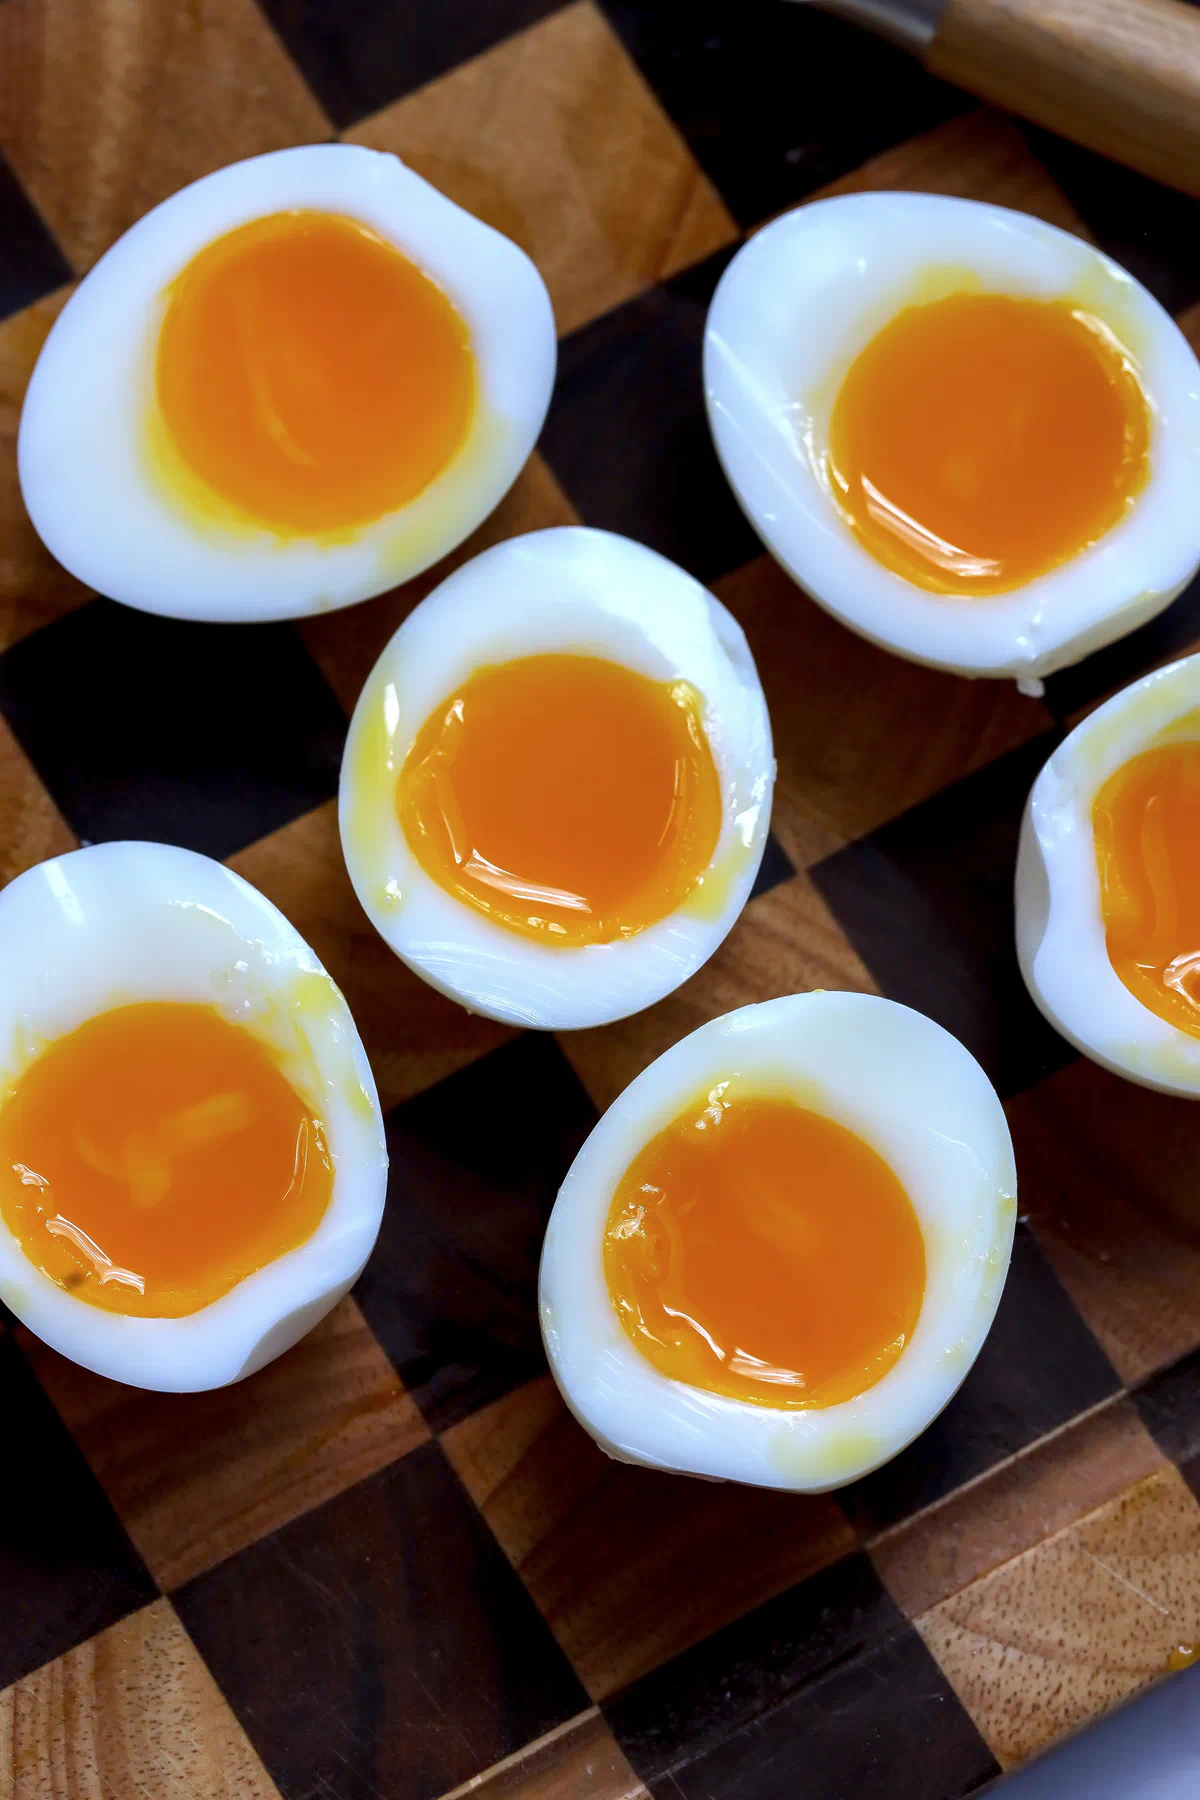
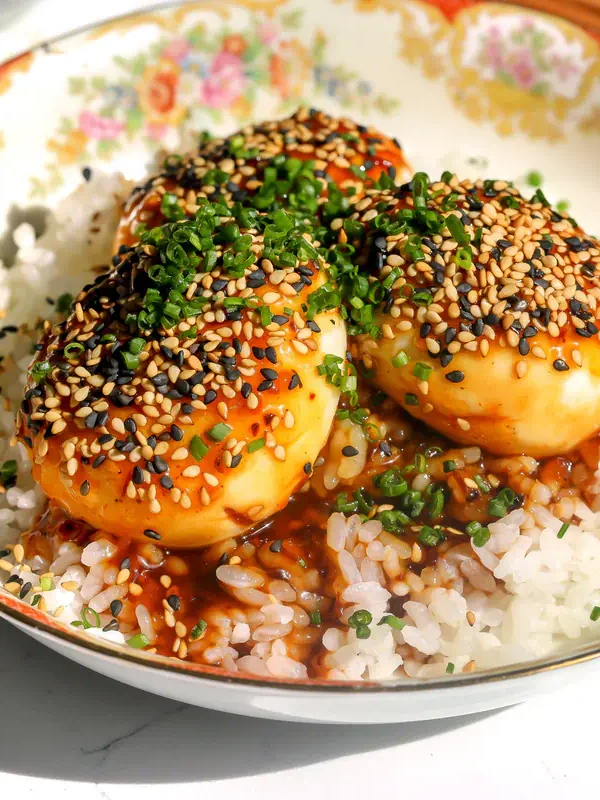
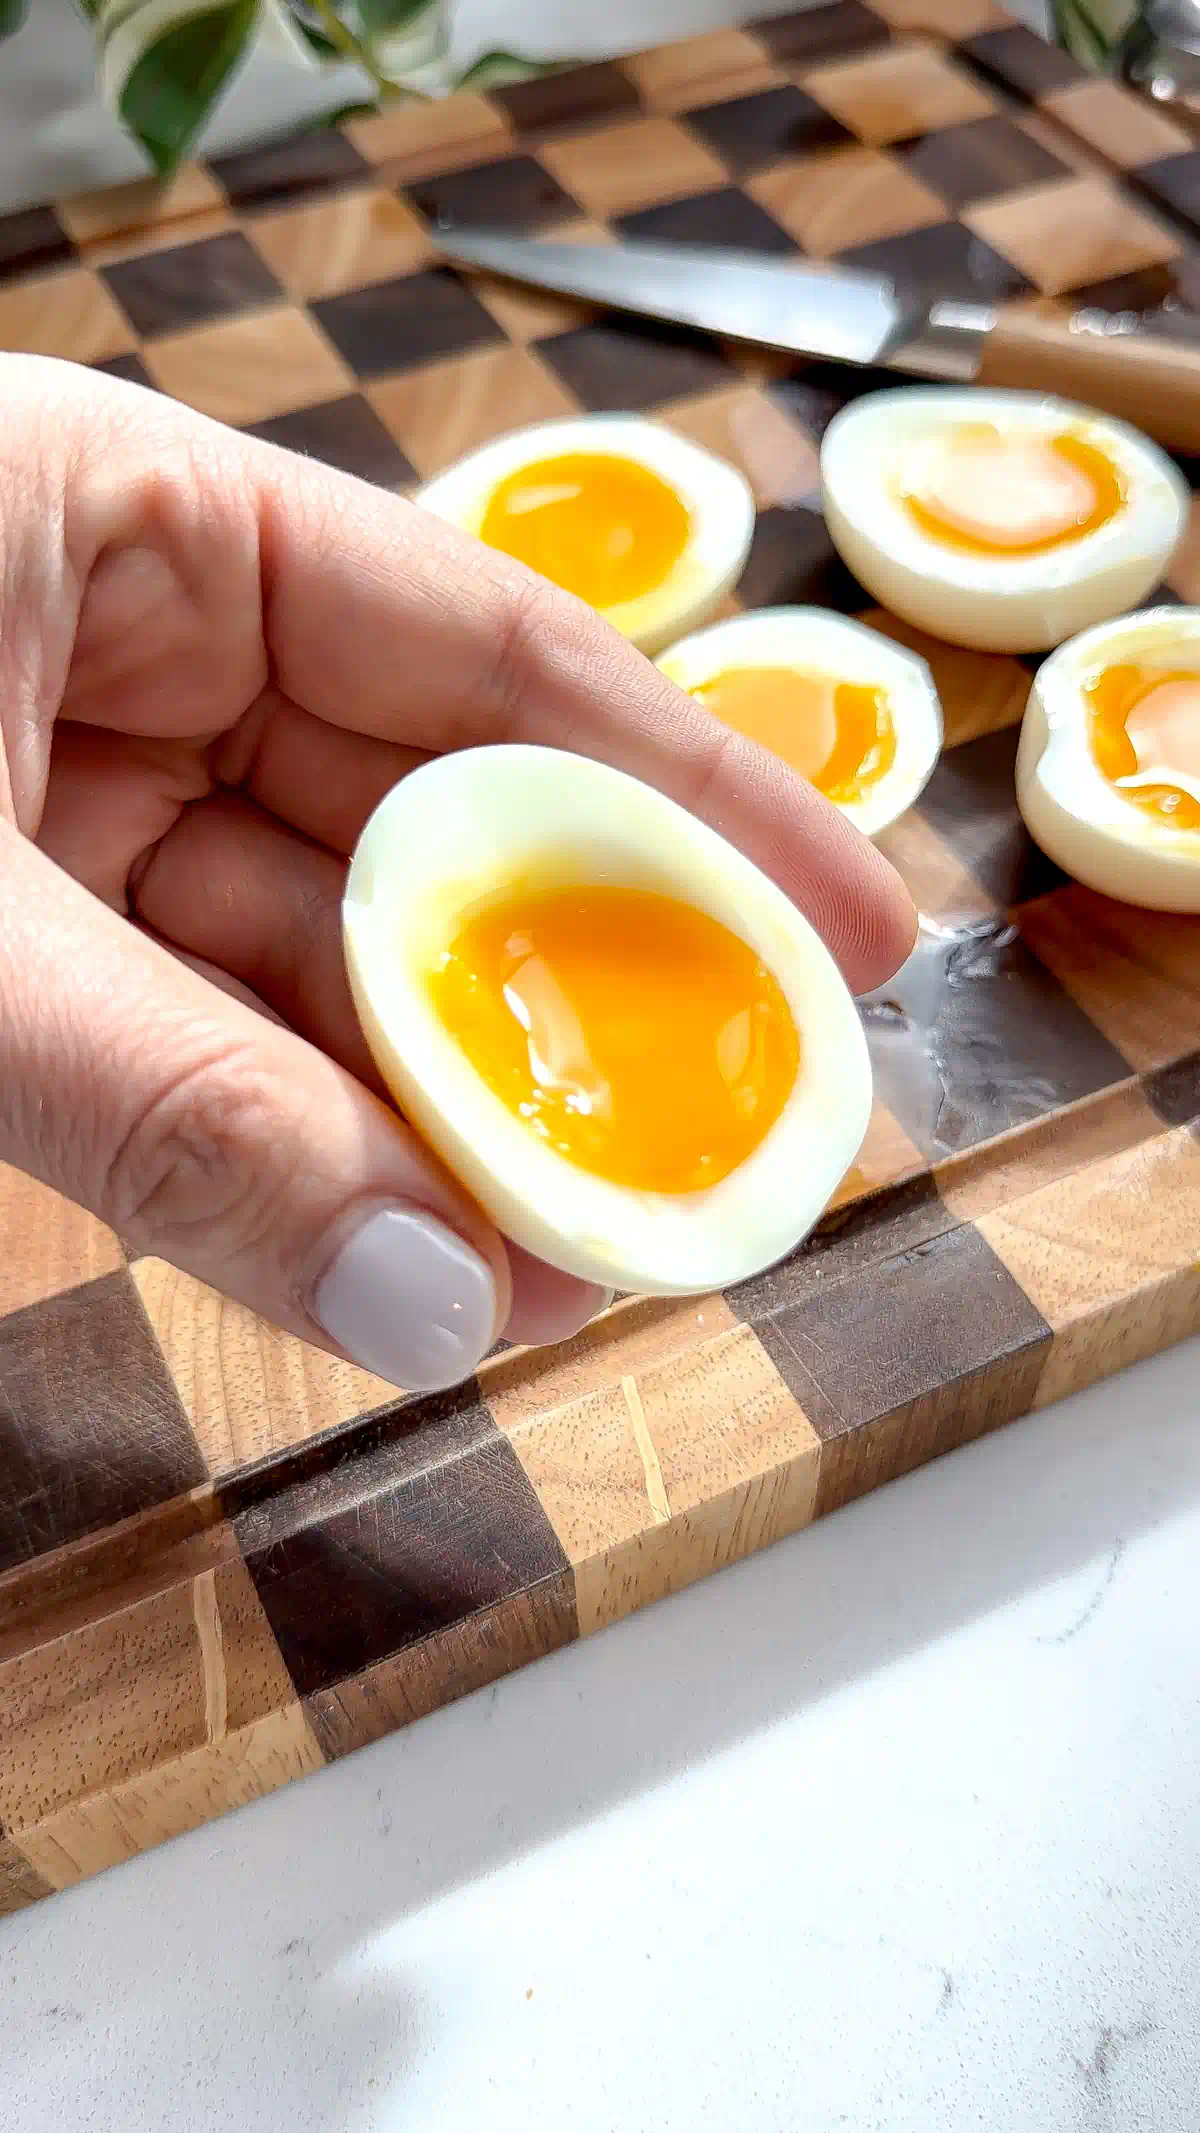
Soft boiled eggs have fully cooked whites and a soft, jammy yolk in the center. They’re great as-is, just sprinkle a little salt and pepper on top. Or they’re an instant upgrade for other recipes. Ramen, over rice, on toast – whatever sounds good. This page shows you exactly how I make them so that they come out perfect every single time. Once you know the tricks, you will never mess them up again.
Table of Contents
The Egg Piercer
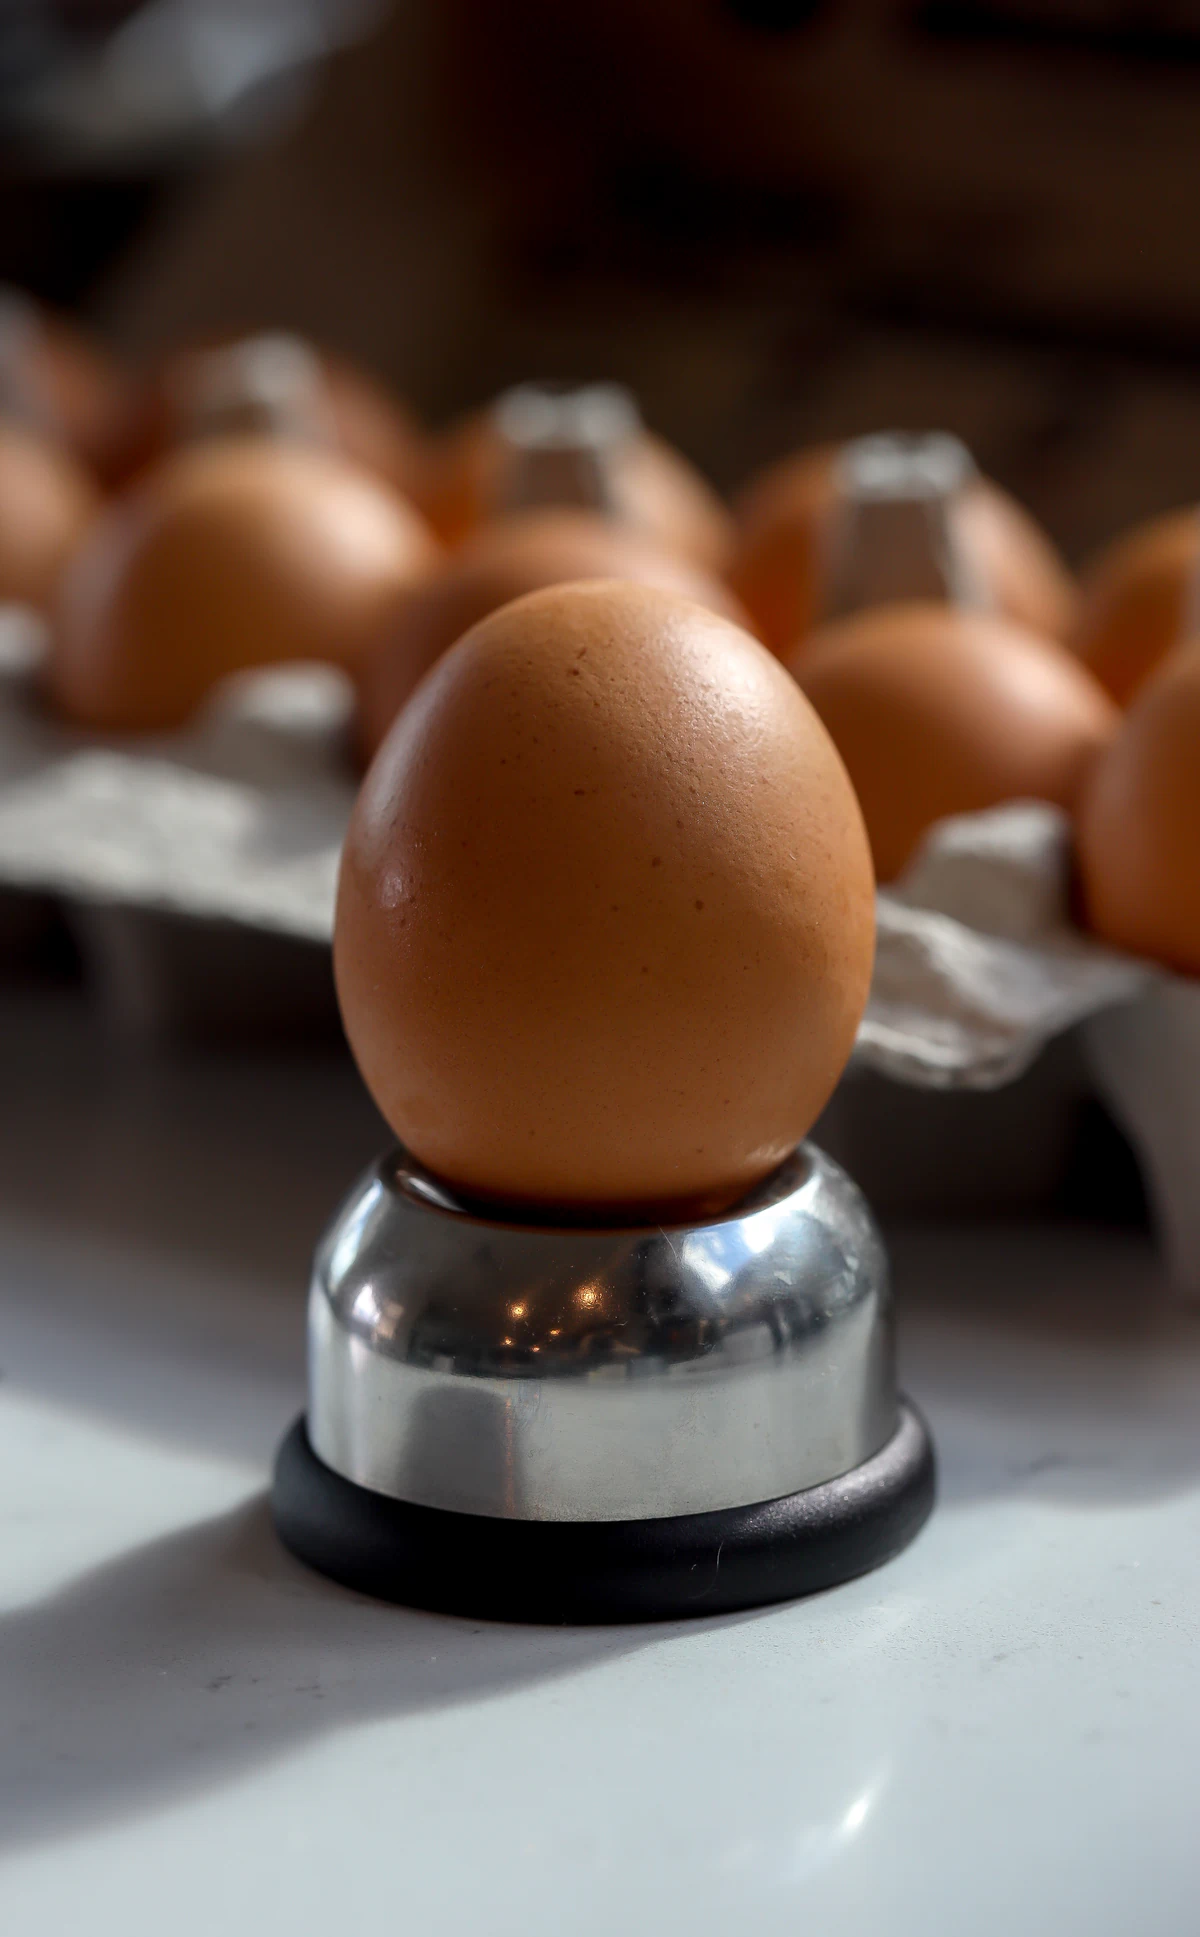
An egg piercer is a small tool with a tiny needle on top. You set the fat end of the egg on the needle and press down, and it pokes one small hole in the shell. This is the egg piercer I use. It’s not expensive and it makes all the difference, but a clean thumb tack works in a pinch if you do not have one.
Why Use an Egg Piercer
If you drop eggs straight into boiling water without piercing them first, a lot of them crack. There is a little pocket of air inside each egg. When the egg hits the hot water, it heats up and swells. It needs somewhere to go, and if it cannot get out, it pushes on the shell until the shell cracks.
That is why so many recipes tell you to start your eggs in cold water and bring it up to a boil slowly. The slow warm up is gentler on the shell, so fewer eggs crack. It works, but it comes with a real problem when you want a jammy yolk. You lose control of your timing. Every stove and every pot heats at its own speed, so a cold pot coming up to a boil is never the same amount of time twice. You end up guessing when the cooking really started. With a soft boiled egg you are working inside a thirty second window, and that guessing is how you overshoot it and land on a firm yolk.
The piercer fixes this. One small hole to release the pressure and the shell holds together in hot water. That combined with making sure the eggs are at room temperature, and you can safely add your eggs to boiling water, start your timer, and pull them at exactly six minutes for the same jammy yolk every time.
Which End to Pierce
Hold your egg up and you should be able to see that one half is narrower and more pointed, and one is wider and more rounded. That wider part of the egg is where the air pocket is located, and that’s the side you want to pierce. Carefully set your egg on the piercer and press down, it doesn’t take much force. You’ll hear a little crack and that’s it. You’re ready for the boil.
How to Boil the Eggs
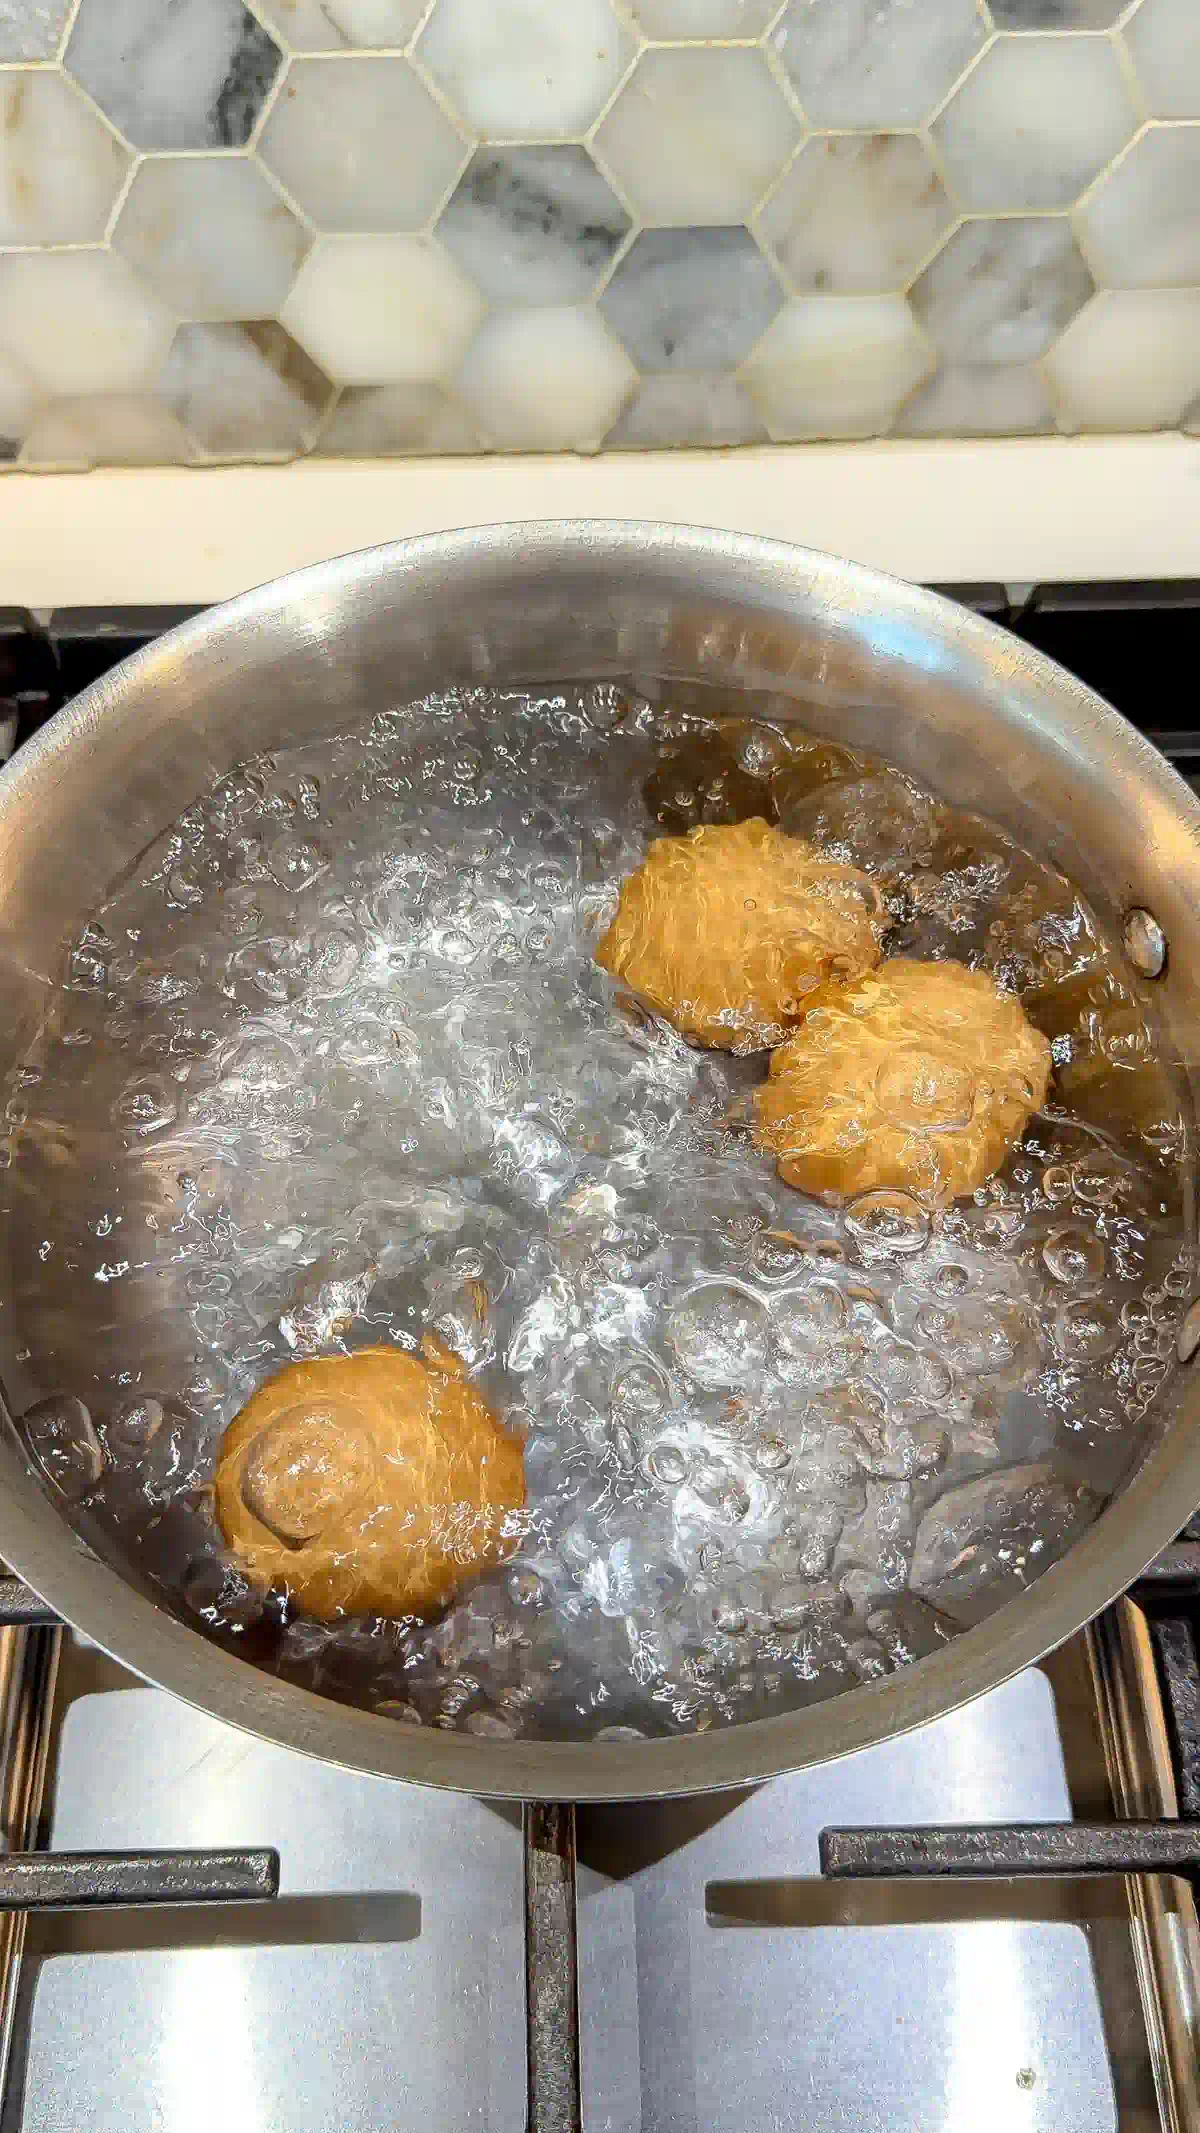
Bring a pot of water to a rolling boil. Using a spider strainer or a slotted spoon, lower the pierced eggs in gently. Do not let them drop to the bottom or they can crack on impact. Cover the pot. The lid traps the heat so the water comes back up to temperature fast and stays hot around the eggs, which is what keeps the cook consistent.
Boil for exactly 6 minutes for large eggs. Bigger eggs need a little longer, so check the notes in the recipe card if you are using extra-large or jumbo. While they cook, fill a bowl with ice and water.
Why an Ice Bath is Important
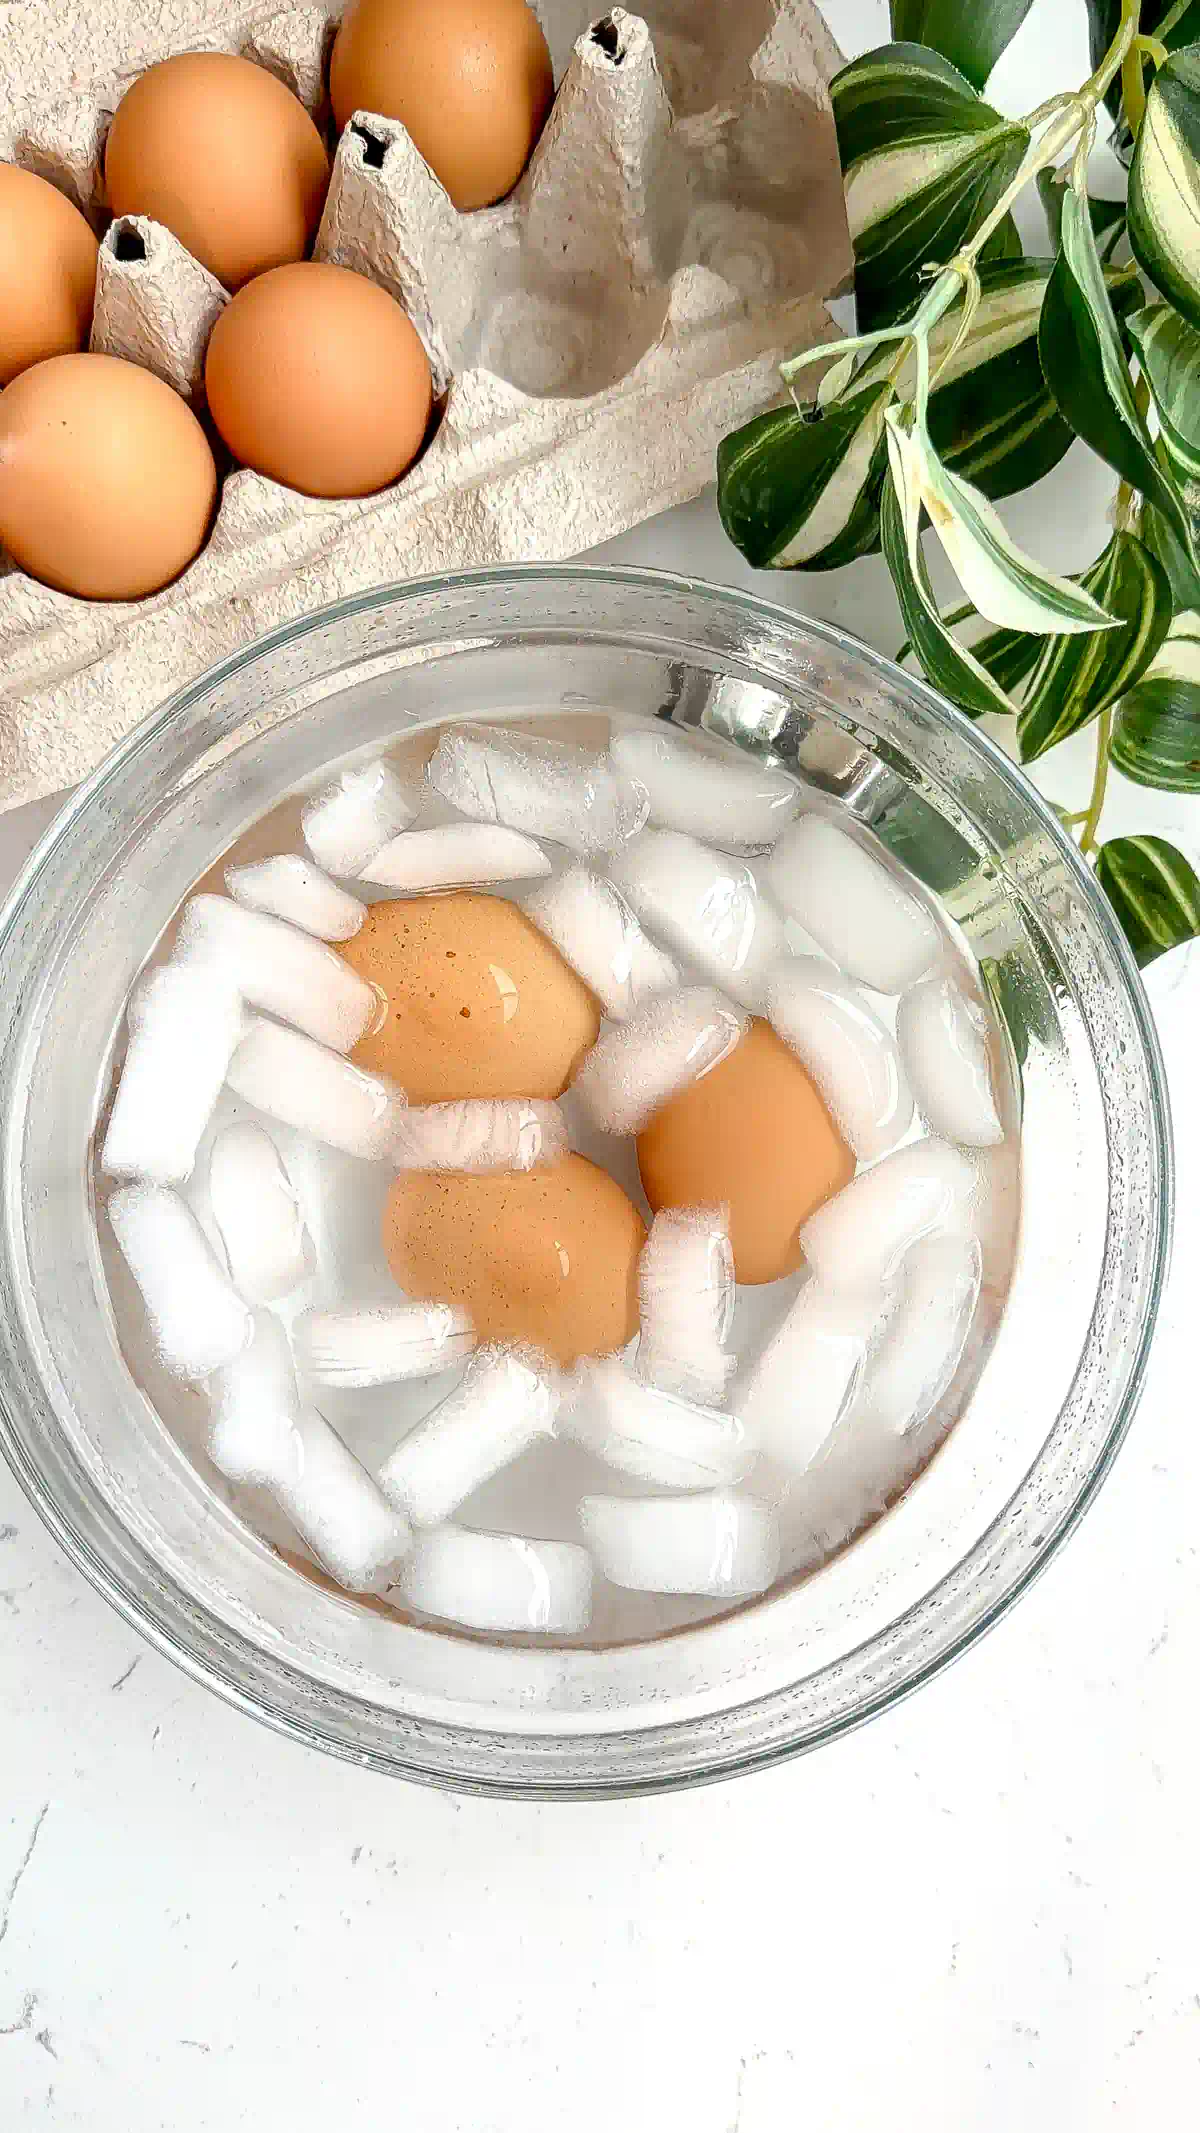
The ice bath does two things. First, it stops the cook. The second the timer goes off, move the eggs into the ice water with your strainer. They come out of the pot holding a lot of heat, and that heat will keep cooking the yolk if you let it. A little of that carryover is enough to take a jammy yolk to firm, so the cold water shuts it down and holds the yolk right where you want it.
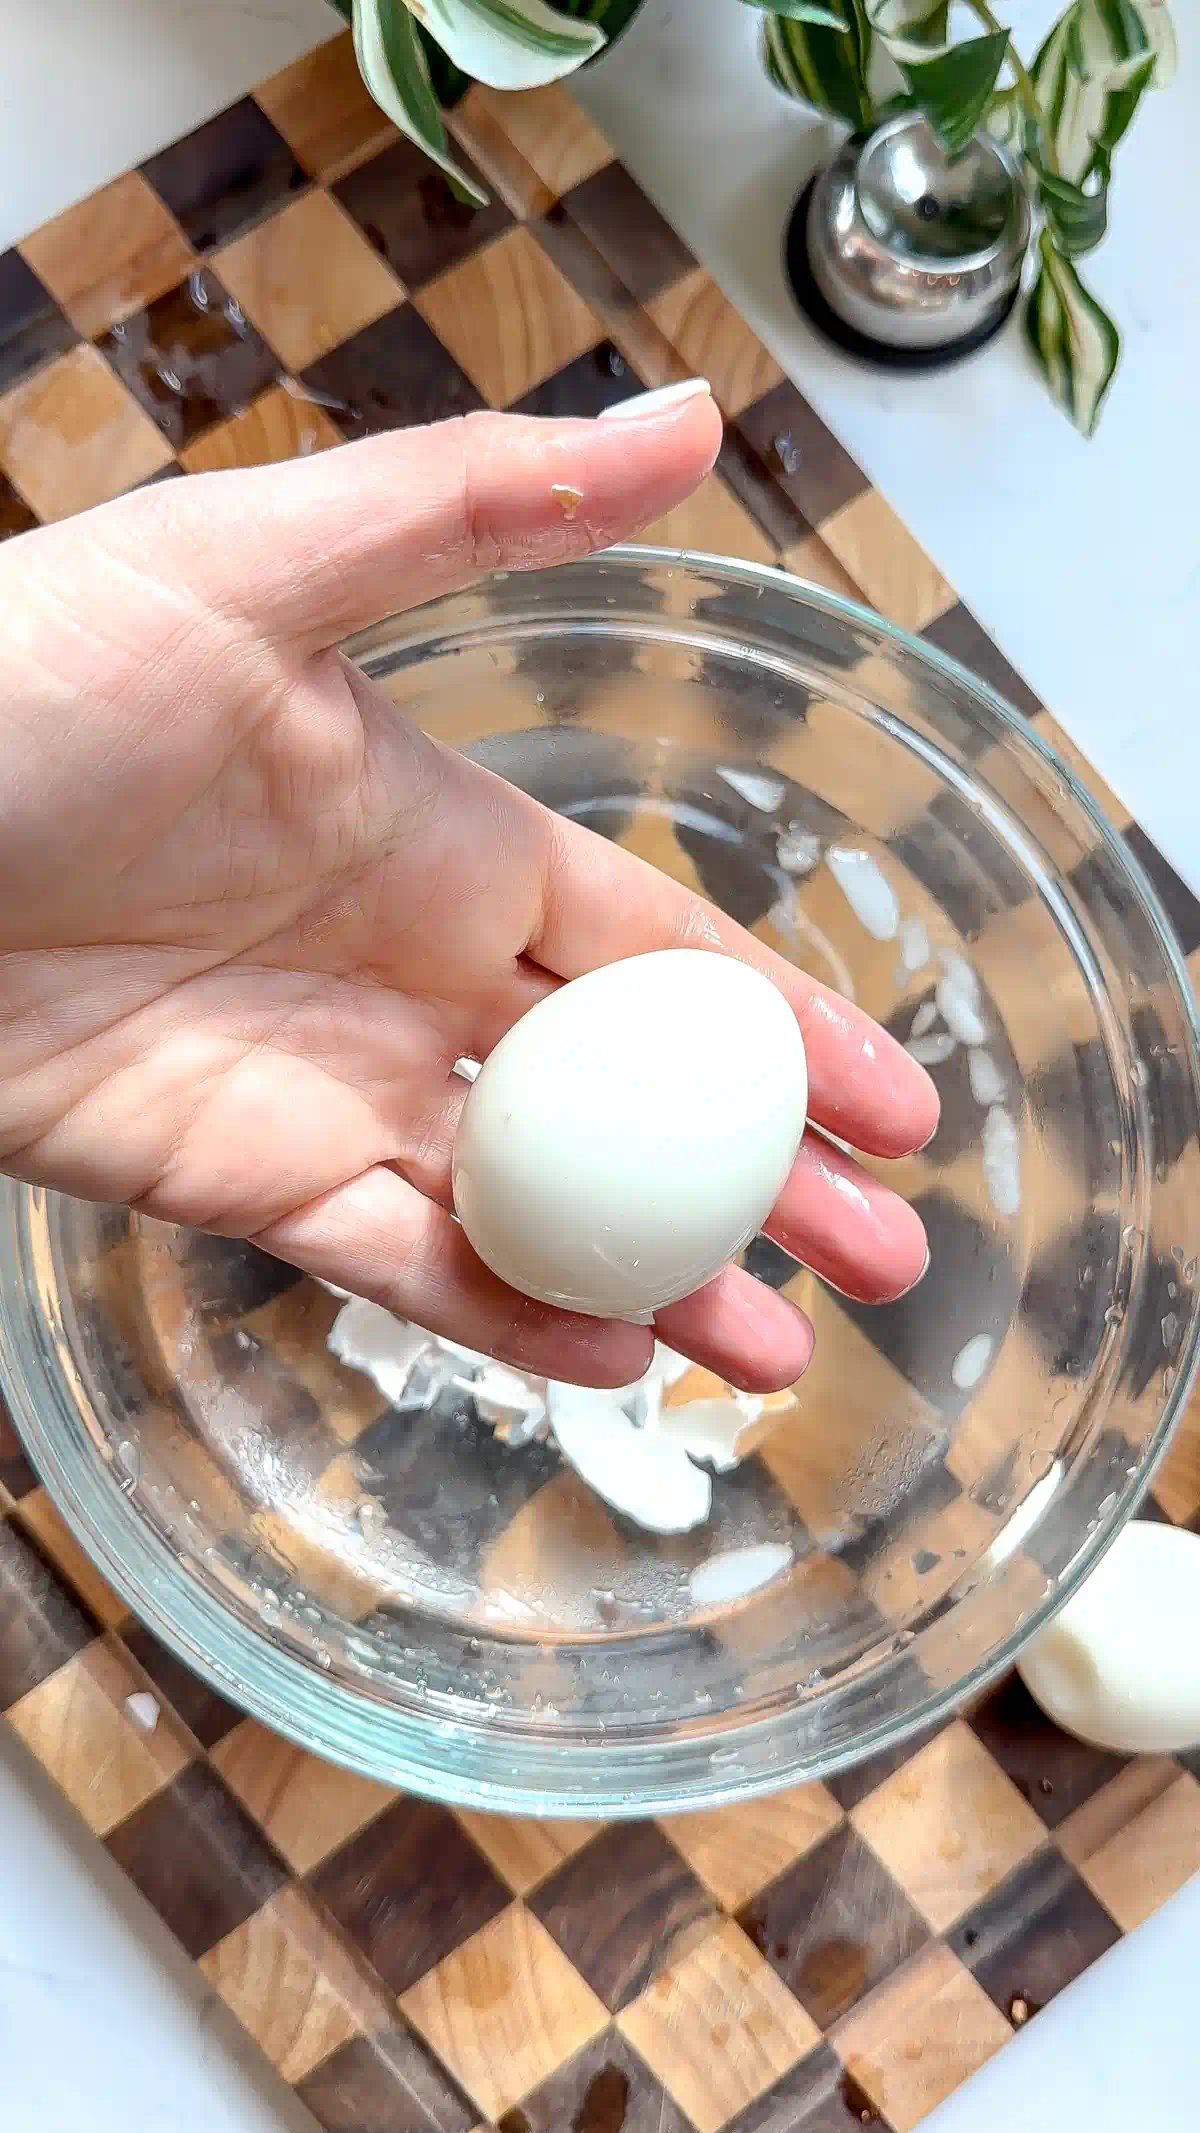
Second, it sets up a clean peel. Once the eggs have cooled, you crack and roll each one and slip it back into the water. The water works under the shell and loosens the membrane from the white, so the shell comes off in big pieces and the egg underneath stays smooth.
Tips for an Easy Peel
Once all the eggs have had their 3 minutes in the ice bath, take them out one at a time to crack. Tap the egg gently on a cutting board or the counter, turning it as you go so the shell cracks all over. Then set it down on a towel and roll it under your palm with light pressure. You are not trying to smash it, just craze the shell into a lot of little pieces so the water can get under it.df
Slip that egg back into the ice bath and crack the next one the same way. Work through all of them like this, so they each get a little more time in the water with a cracked shell.
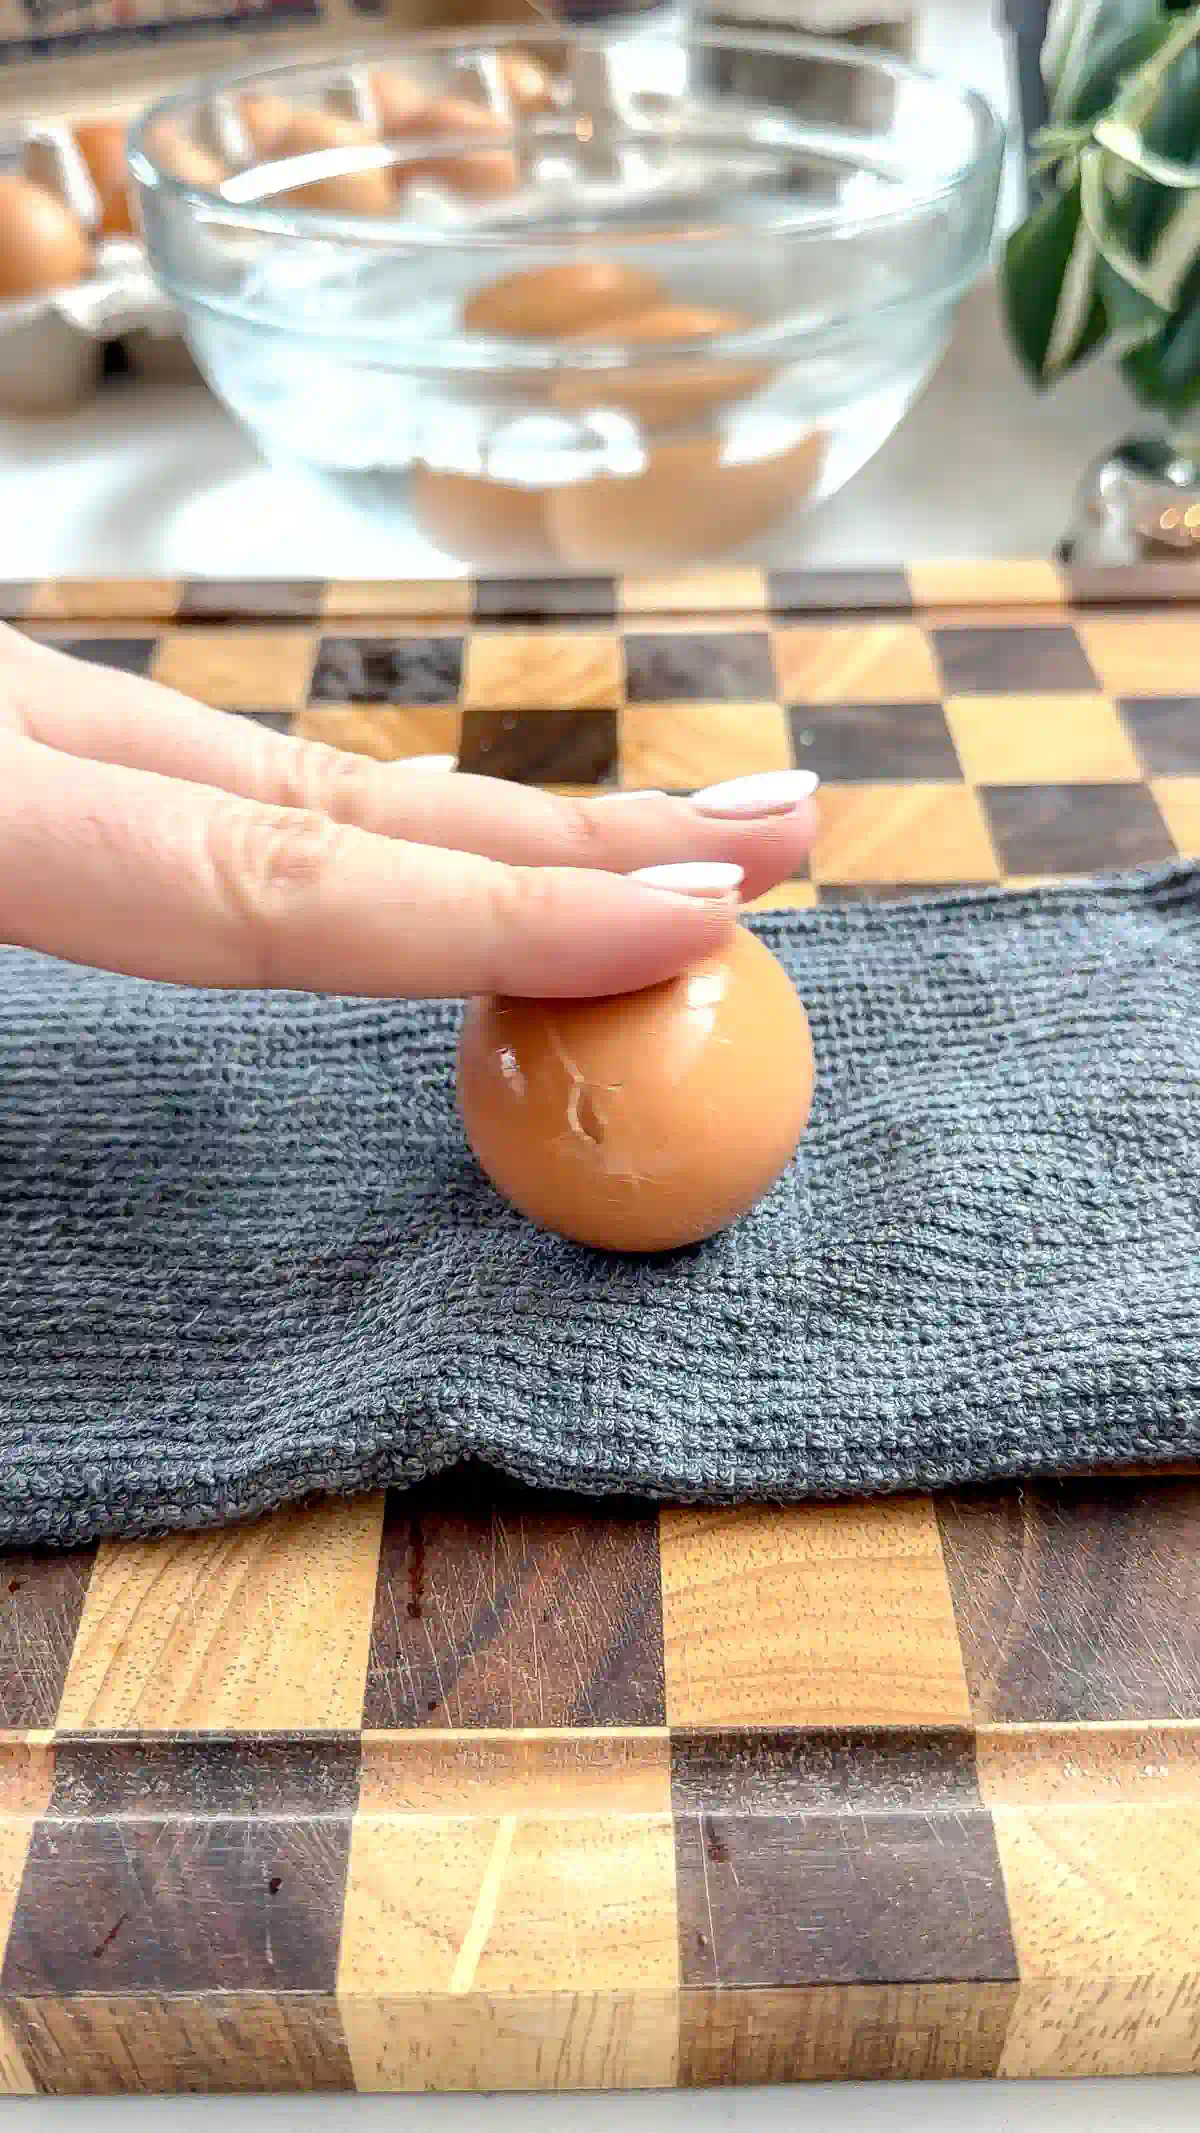
Now start peeling, beginning with the first egg you cracked since it has soaked the longest. The shell should come away in big pieces and the egg underneath comes out smooth. Go slow. A soft boiled egg is delicate, and a little patience here is the difference between a clean egg and a torn one.
Put an Egg On It
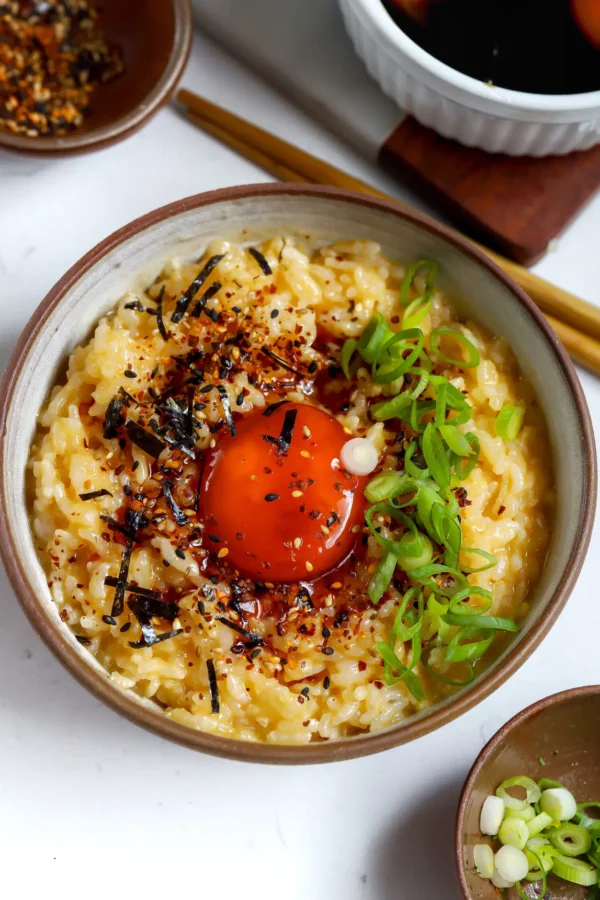
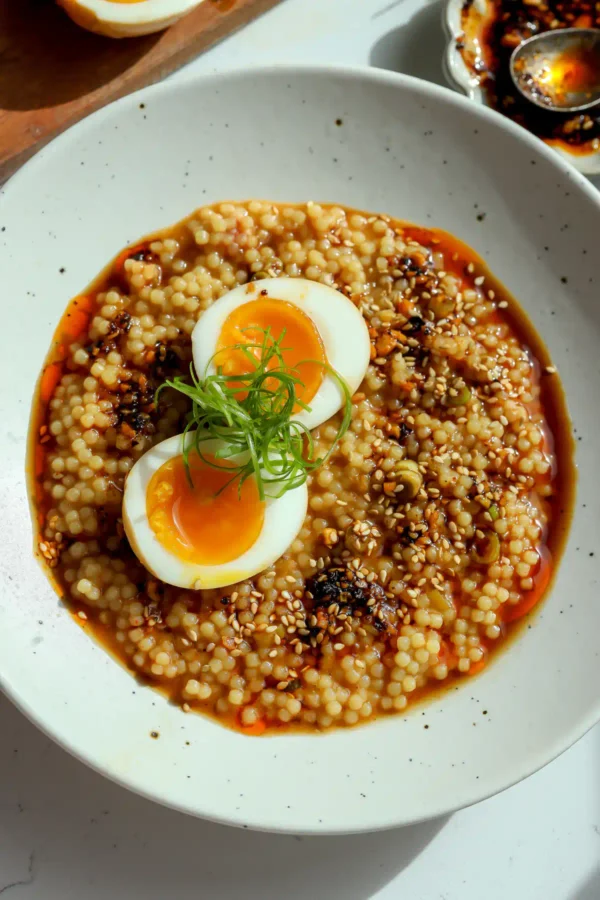
A soft boiled egg works in place of the egg in a lot of my recipes. Swap it into my Oxtail Ramen with Jammy Eggs or my 30-Minute Miso Ramen Pastina for the ramen egg. It stands in for the raw egg in Tamago Kake Gohan, and for the crispy fried yolk on my Spicy Crispy Yolk Toast.


Want to Save this Soft Boiled Egg Recipe?
Save it to your account
or email it to yourself
TLDR: Nadia’s Tips
- Room Temp Eggs: No fridge chill, so the hot water does not shock the shell into cracking.
- Egg Piercer: Opens the air pocket so the pressure has somewhere to go instead of splitting the shell.
- Boiling Water and Cover: Room temp plus a pierced shell means you can start the eggs in boiling water. The lid keeps the heat steady, so your six minutes is exact instead of a guess the way a cold-water start is.
- Ice Bath: Stops the cook the moment they come out, so the yolk stays jammy.
- Crack and Roll: Tap all over and roll on a towel so the shell breaks into small pieces.
- Back to the Ice Bath: Water slips under the broken shell and loosens it for a clean peel.
Frequently Asked Questions
Six minutes for a large egg, dropped into water that is already at a rolling boil. That gives you a fully set white and a jammy yolk. Bigger eggs need a little more time, and there is a size chart in the recipe card.
Two things. Start with room temperature eggs and pierce the fat end so the shell does not crack, then you can cook them in boiling water and time them exactly. And use an ice bath the second they come out so the yolk stops cooking right where you want it. Exact timing is the whole game with these.
For most healthy people, yes. Keep in mind the yolk stays runny, so it does not get hot enough to reliably destroy salmonella the way a fully cooked egg does. The odds of any one egg carrying it are low, but they are not zero. If you want no risk at all, use pasteurized eggs or cook the egg until the yolk is firm, which is what the FDA recommends.
The standard guidance is to skip runny yolks during pregnancy unless the eggs are pasteurized, since a soft yolk does not reach the temperature that destroys salmonella. If you use pasteurized eggs, a soft boil is considered fine. Check with your own doctor, and when in doubt cook the egg until the yolk is set. This is general information, not medical advice.
Yes. Straight from the fridge is fine, and cold soft boiled eggs are good on salads and grain bowls. The yolk firms up a little when chilled.
No. A whole egg can build up pressure and burst in the microwave. These are quick and best made fresh, so cook them when you want them rather than trying to reheat.
Up to a week if you keep them unpeeled in an airtight container. Leave the shells on until you are ready to eat, since peeled eggs only last a couple of days.
Equipment
- egg piercer, or a clean thumb tack
- Large Pot
- spider strainer
- Bowl, for the ice bath
- clean towel
Ingredients
- 1 to 6 eggs, room-temperature
- water, for boiling
- ice, for the ice bath
Instructions
- Prep the Eggs: Pierce each egg once with an egg piercer.1 to 6 eggs
- Boil: Bring a large pot of water to a rolling boil. Gently lower the eggs into the water with a spider strainer. Cover and boil for 6 minutes.water
- Ice Bath: While the eggs boil, fill a bowl with ice and water. As soon as the 6 minutes are up, transfer the eggs to the ice bath with the spider strainer. Let cool for 3 minutes.ice
- Crack and Peel: Tap each egg gently on a hard surface, then roll it on the towel to crack the shell all over. Return each egg to the ice bath while you crack the rest. Peel starting with the first egg you cracked.
Kitchen Cam
Notes
Extra-large: 6 minutes 30 seconds
Jumbo: 7 minutes
Nutrition
Nutrition information is automatically calculated, so should only be used as an approximation.