This post may contain affiliate links. Please read our disclosure policy.
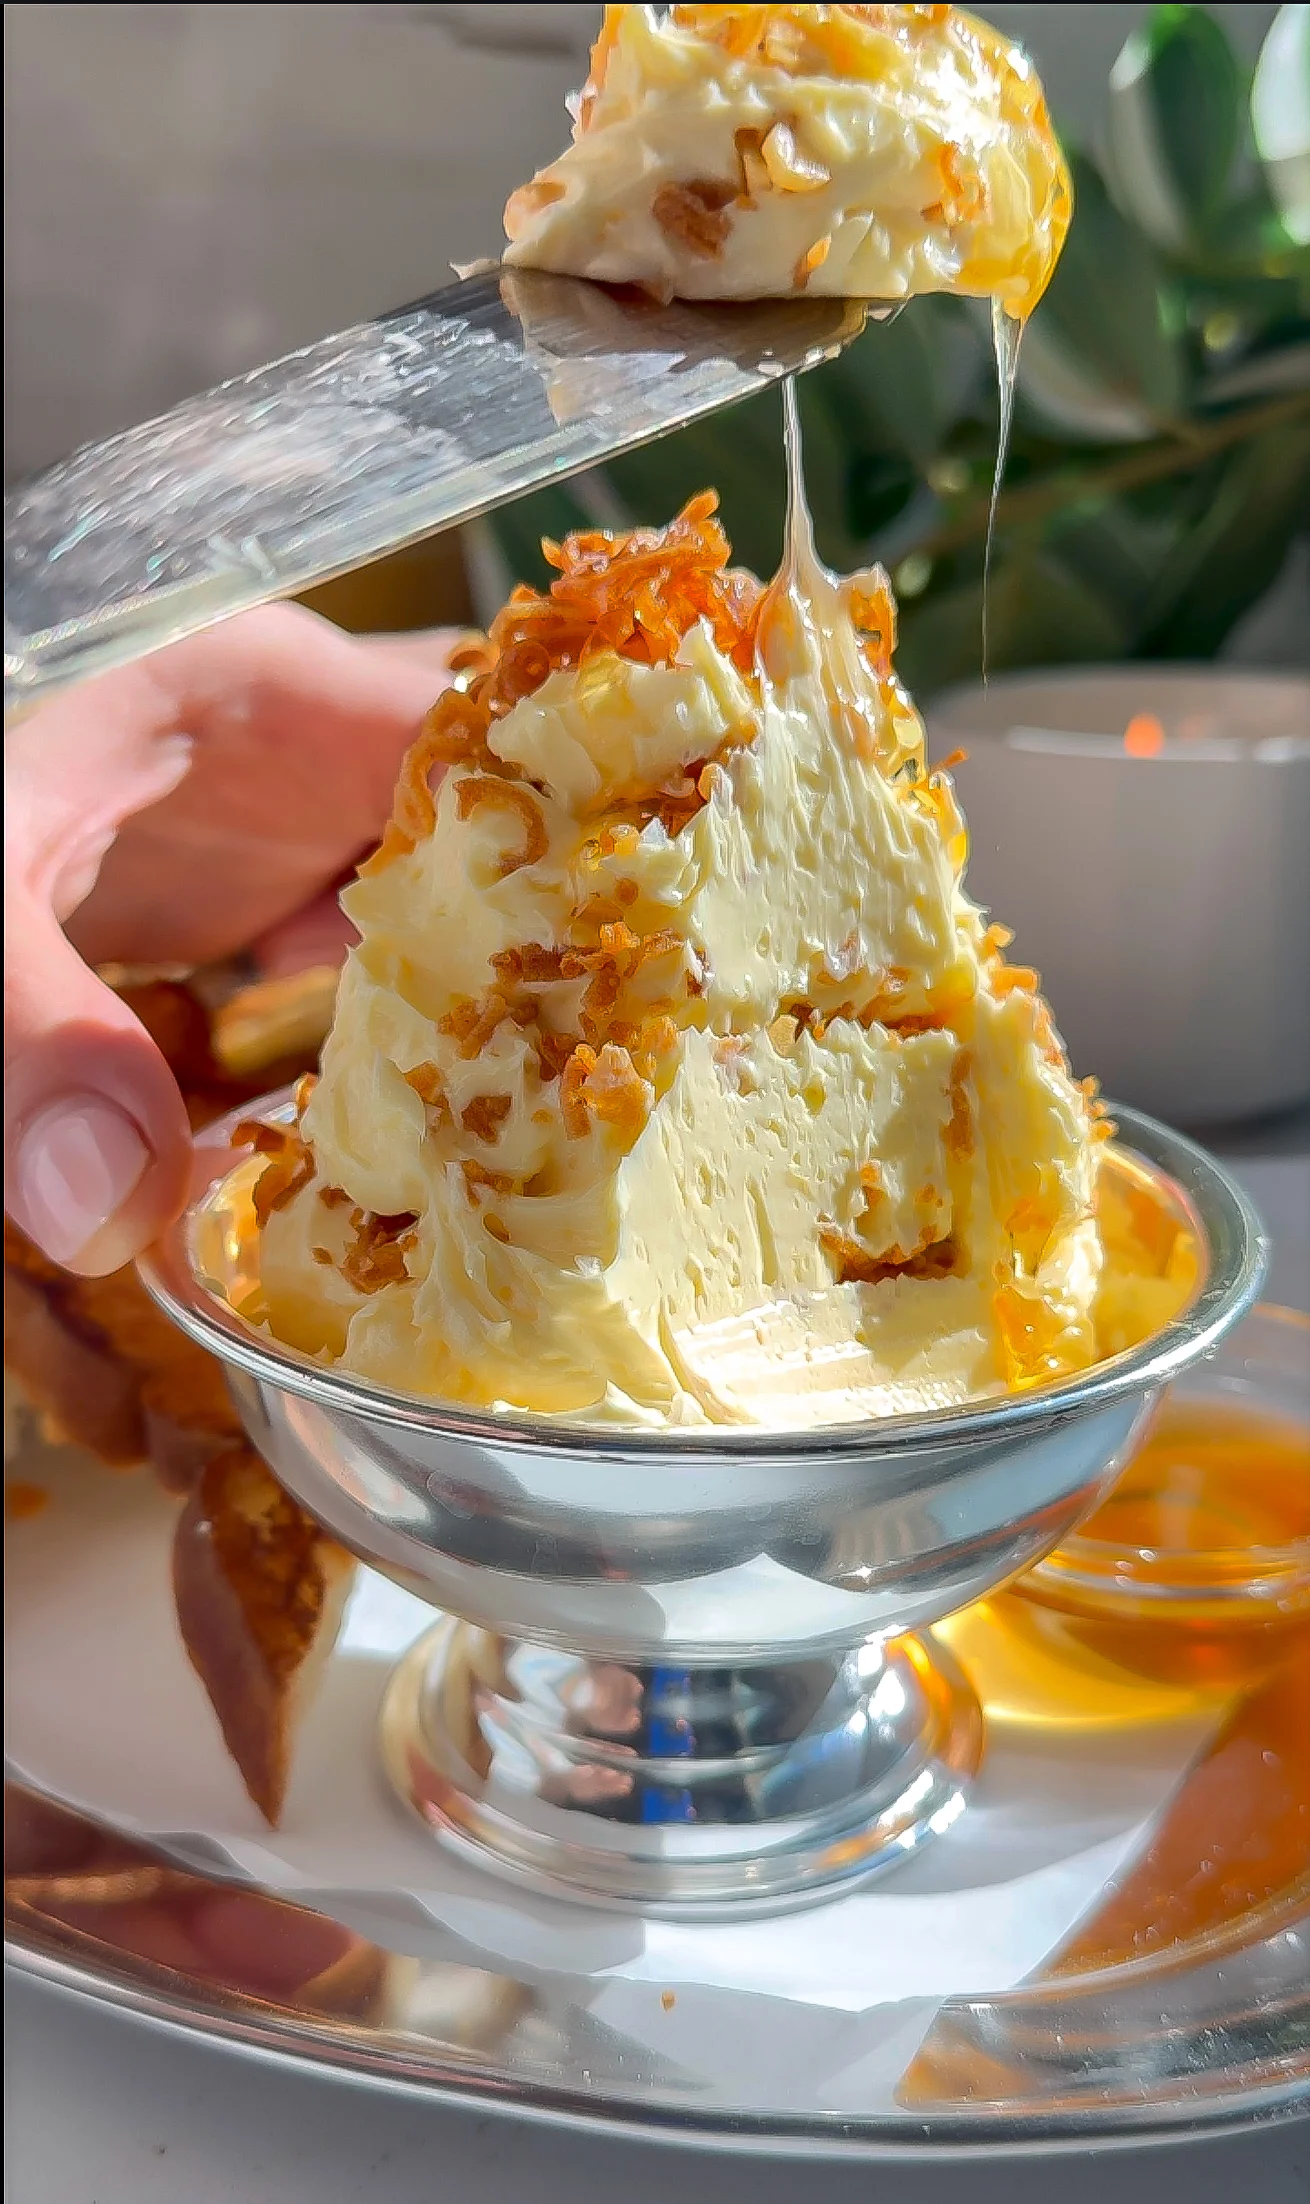
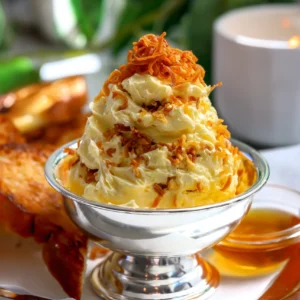
This whipped shallot butter hits all the right places: savory, sweet, and ultra-creamy, with the prefect crunch. We flavor a high-quality butter with shallot oil and cold cream, whipping it until it is light and airy. To build the butter tower, alternate layers of the whipped butter with flakey salt, crispy shallots, and garlic. Crown the stack with more crisp and a thick honey drizzle.
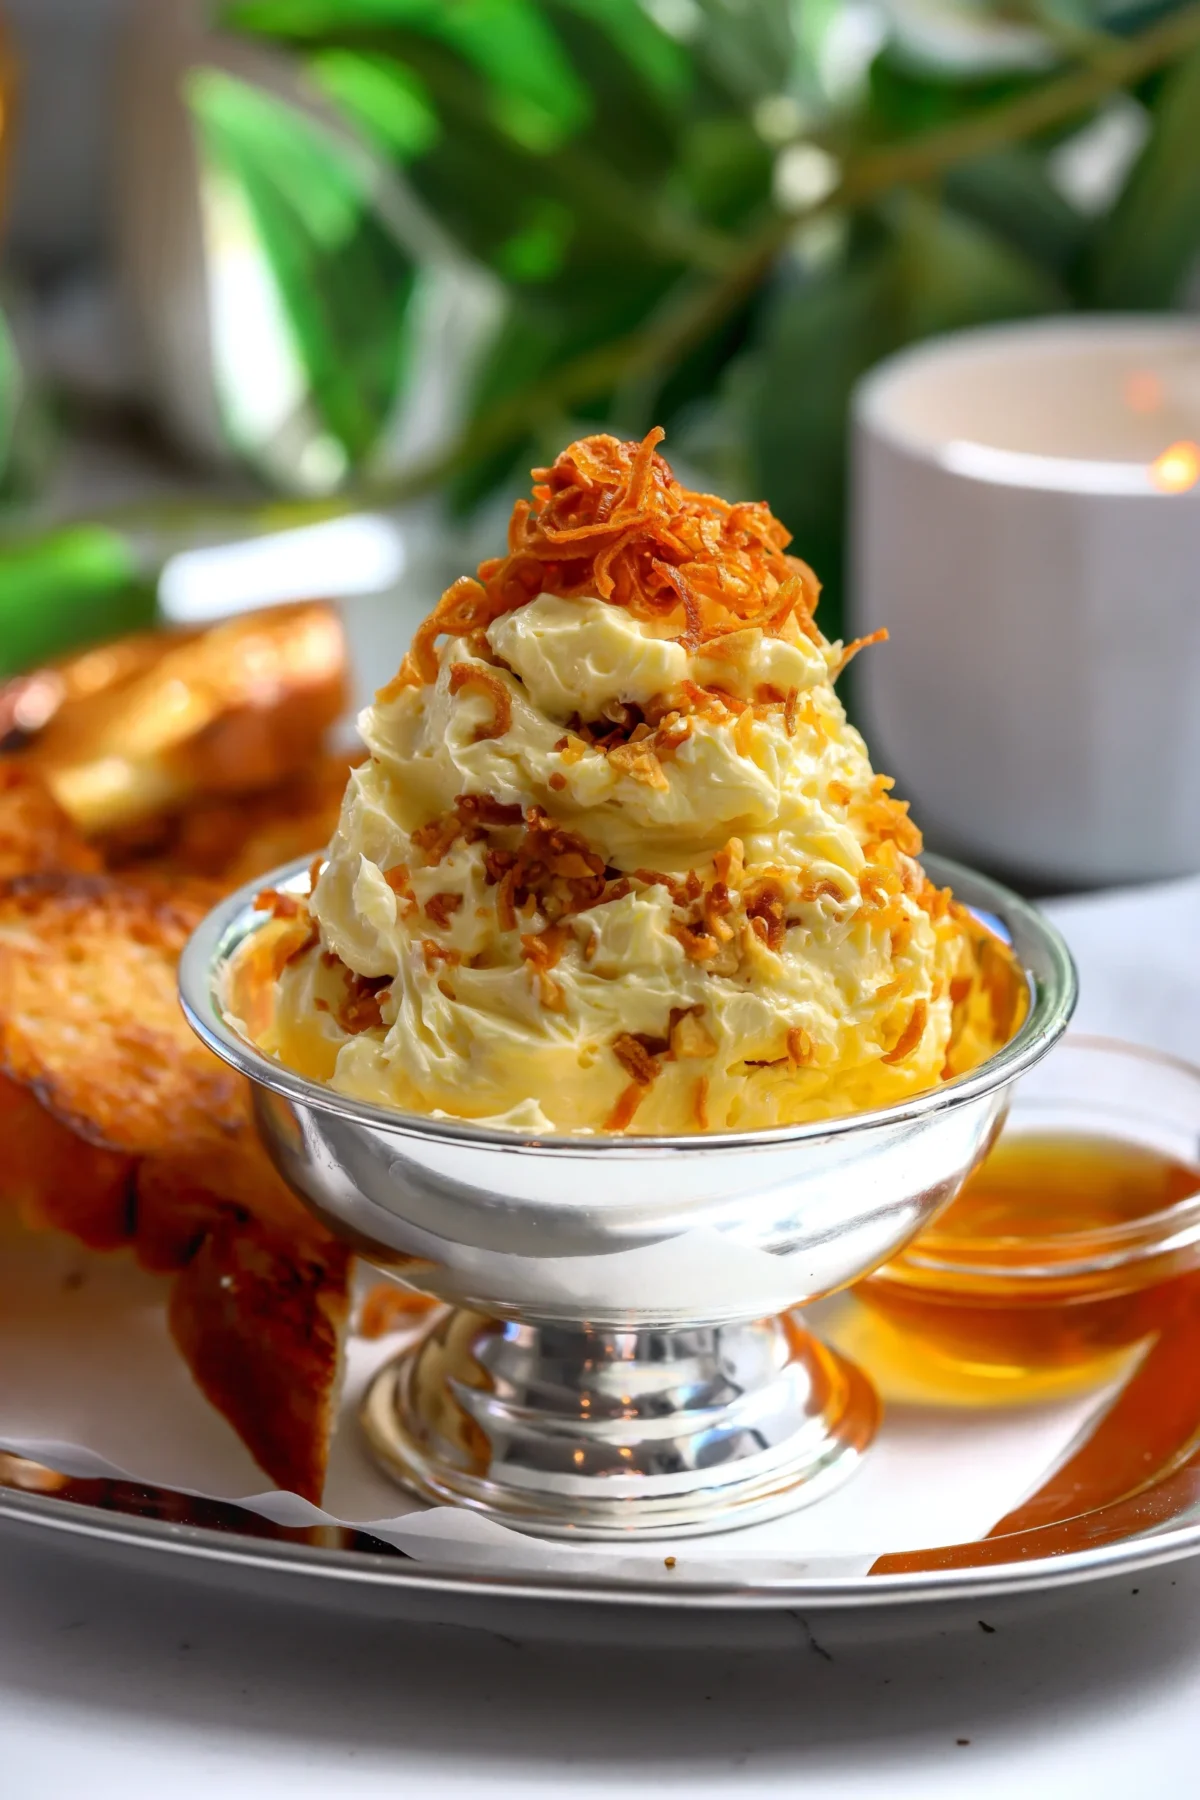
Table of Contents
Make-Ahead Ingredient Prep
The Butter: Before you start this recipe, the butter needs to be fully softened so it whips up light and airy. If you are in a hurry, cut the butter into cubes so it will come to room-temperature quicker. Do not use a microwave to speed this up. If the butter gets melty, it will not whip. Keep the heavy cream cold, and wait to zest the lemon until right before mixing.
- Make-Ahead: You can make the whipped butter ahead of time, but it must sit on the counter to come completely back to room temperature before serving.
The Crunch: Fry the shallots and garlic up to a day in advance, but there are a few things you need to do to make sure they stay crispy and don’t forget to keep some of the oil your fry it in.
- Use a mandoline and cut-resistant gloves to slice them into thin, even rings.
- Fry them until completely crispy, but not burnt or it will get bitter.
- Drain and let them cool all the way before storing in an airtight container at room temperature. If you seal them while they are even slightly warm, the trapped steam will make them soggy.
- Store them at room temperature and not in the refrigerator.
If they lose their crunch, crisp them back up in an air fryer or toaster oven. Watch them closely so they do not burn.
Chef Nadia’s Tips For A Creamy Whip
For more tips, check out my classic whipped butter page. This page is dedicated to breaking it down to the basics.
High-Quality Butter: This isn’t just for the taste. European or Irish butters have a higher fat content, and the butterfat traps air bubbles more effectively, which gives you that airy texture. Look for at least 82% butterfat.
Room-Temperature Butter and Cold Cream: You need to make sure you thaw that butter correctly. Don’t pop it in the oven, that melts the fat and it won’t hold the air. For a whole stick, you need at least 30 minutes, but 2 hours is best. If you’re need it done faster, you can always but the stick into cubes. This will cut your thaw time down to about 15-20 minutes.
The Right Equipment: To achieve an ultra-silky, aerated texture, your mixer needs precise speed control. You have to start slow to blend the liquids, then hit high speeds to force air into the fat.
• Handheld Mixer: The exact tool you need for a standard or small batch. Use the classic double beaters in a deep mixing bowl to contain the splatter. Keep the beaters moving in slow, continuous circles to pull from the edges and build a light, fluffy whip.
• Stand Mixer: This is great for larger batches. Use a whisk attachment because it is best at trapping that air which gives you that cloud-like texture.
How to Store Leftovers
The Butter Base: The whipped butter will keep in an airtight container in the fridge for up to two weeks. Before serving, let it sit on the counter until it softens completely back to room temperature so it is light and spreadable.
The Crispy Topping: Never store the crispy shallots or garlic on top of the butter in the fridge. They will pull moisture from the butter and the cold air, turning soft and losing that deep, shattering crunch.
Storing Separately: If you expect leftovers, hold back the fried bits. Keep the crunch in a sealed container at room temperature, then sprinkle it over the softened butter right before you are ready to serve. The refrigerated ones are edible but they lose all their crisp and they’re not great after that.
More Flavored Whipped Butter Variations
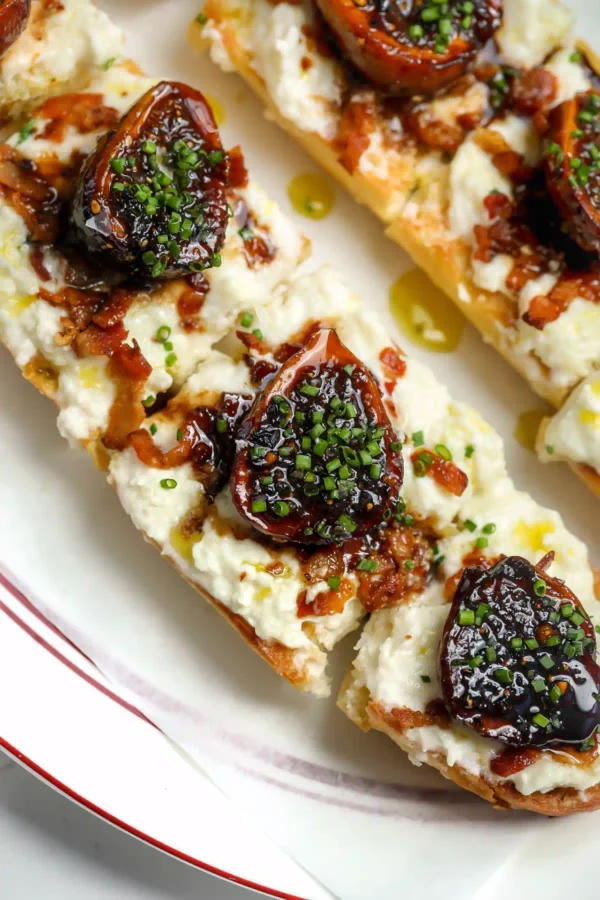
Whipped Butter Radish Tower: This appetizer is gorgeous. The light whipped butter layered with crispy radish slices, herbs, and a bit of sea salt is such a classic but presented in a way you don’t usually see.
Caesar Whipped Butter: This recipe has capers, grated garlic, and anchovies for a rich, umami profile.
Dirty Martini Whipped Butter: This is a briny blue cheese, castelvetrano olives, and vodka masterpiece.
Roasted Garlic Parmesan Whipped Butter: Caramelized garlic and freshly grated Parmigiano-Reggiano whipped into this savory butter.
How to Serve
The Salty Vinegartini: A sharp, briny martini that cuts through rich butter and garlic. This one is also savory, and especially good when bread is on the table.
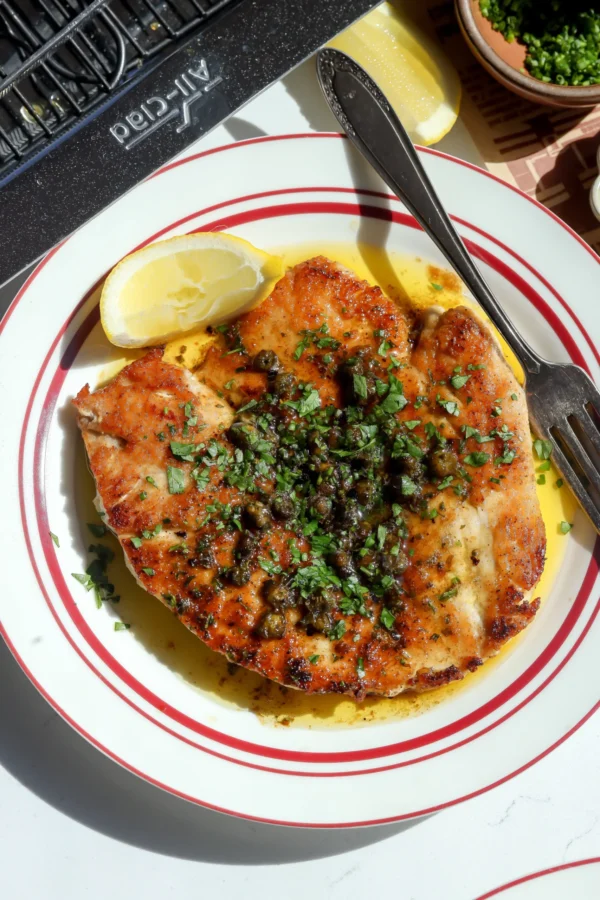
Chicken with Lemon Butter Sauce: Pan-seared chicken finished with a lemony butter sauce that keeps the menu going on a savory note but switches up the flavors. This is a great main to serve alongside the butter too.
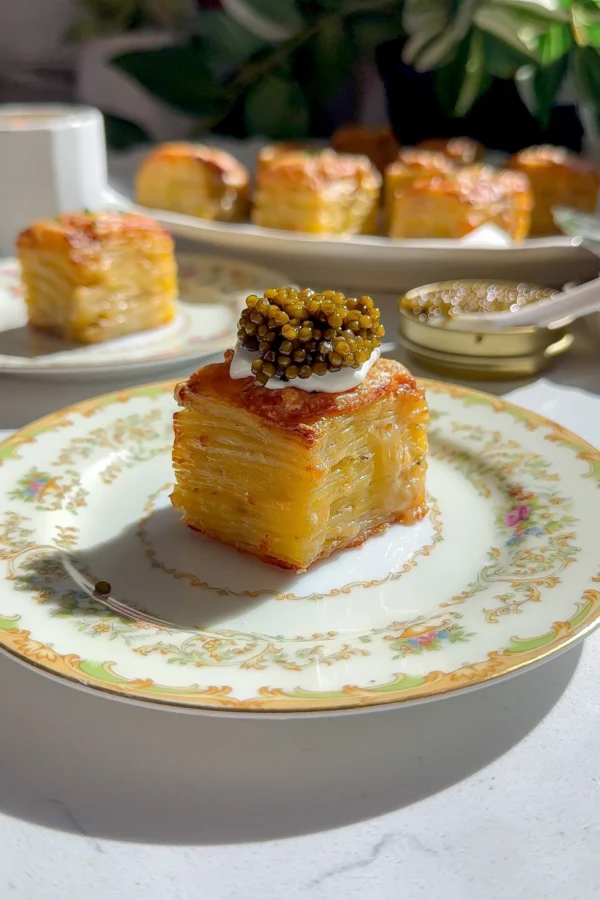
Cheesy Potato Gratin Stacks: Individual potato stacks, gratin-style, with crisp edges and creamy center.
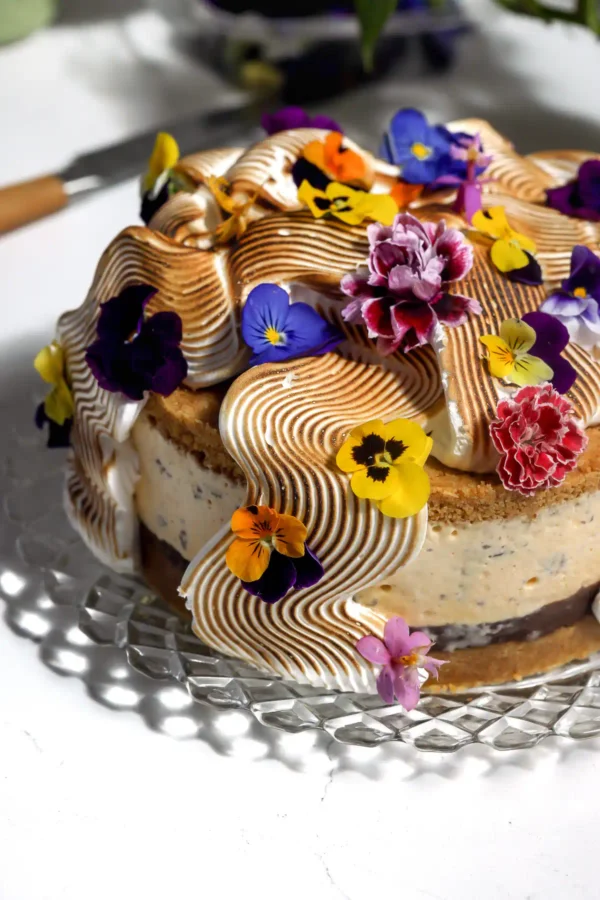
Burnt Basque Cheesecake: A straightforward, crustless cheesecake with deep caramelization. This classic is a great way to end your night.


Want to save this recipe to your collection?
Frequently Asked Questions
Yes. You can fry the garlic and shallots up to a day in advance and keep them dry so they stay crisp. The butter can be whipped earlier as well, stored in the fridge, then let it soften a little and re-whipped briefly before serving to bring it back to a light, spreadable state.
Yes. A stand mixer works great. Use the whisk attachment for best results. A hand mixer is a little better for smaller batches because you have more control, but either will work.
Pop it into the fridge for a few minutes, then re-whip. That quick reset usually brings it right back into balance without changing the flavor.
Equipment
- Mandoline Slicer, or knife
- Medium Skillet
- heatproof spatula, or chopsticks
- paper towels
- Mixing bowl
- hand mixer, or stand mixer with whisk attachment
Ingredients
The Crunch
- 2 shallots, thinly sliced
- 2-3 garlic cloves, thinly sliced
- olive oil, for frying
The Whipped Butter
- 8 oz unsalted butter, room temperature
- 2 tbsp heavy cream
- 1 lemon, zest only
- 1-2 tbsp garlic shallot oil
The Serving
- honey
- flaky salt
- crusty bread
Instructions
- Fry the Shallots and Garlic: Place the shallots and garlic in a cold medium skillet and pour in enough olive oil to fully cover them. Turn the heat to medium-high for 1 minute, then reduce the heat to low. Gently fry, separating the slices with chopsticks or a spatula, until lightly golden, about 12-15 minutes. Remove and transfer to a paper towel to drain and cool. Reserve 2 tablespoons of the oil for the butter. Once cooled, give them a rough chop.2 shallots, 2-3 garlic cloves, olive oil
- Whip the Butter: In a mixing bowl, add the room temperature butter, heavy cream, lemon zest, and garlic shallot oil. Whip with a hand mixer for 1-2 minutes. The scrape down the sides and turn the speed to high, continuing to whip for 4-5 more minutes, scraping down the sides as needed.8 oz unsalted butter, 2 tbsp heavy cream, 1 lemon, 1-2 tbsp garlic shallot oil
- Assemble and Serve: Now we layer, add a spoonful of the whipped butter into a serving dish and sprinkle some of the crispy shallots and garlic. Repeat this until you have used all the butter and have a nice tower. Finish with more of the shallots and garlic, a drizzle of honey and a pinch of flaky salt. Serve with warm crusty bread.honey, flaky salt, crusty bread
Kitchen Cam
Nutrition
Nutrition information is automatically calculated, so should only be used as an approximation.